


These docs are for Cribl Edge 4.0 and are no longer actively maintained.
See the latest version (4.17).
Installing Cribl Edge on Windows
You can install Cribl Edge on Windows Server 2016, 2019, or 2022. To start:
- Set a compatible browser as your default browser: Microsoft Edge, Firefox, or Chrome. (Cribl Edge is not compatible with Internet Explorer.)
- Cribl Edge on Windows relies on PowerShell for certain operational tasks. Verify that PowerShell is installed and accessible on your Windows systems.
- Ensure that the required ports are available (see Network Ports).
- From Cribl’s Download page, set the Software drop-down to either the
.exeor.msiinstaller. - Click Download Now to get the selected installer.
Select the Installation Type
You now have two installation options:
- Launch the
.exeto install via an interactive wizard. - Use the
.msito install via a command prompt, or to script bulk installs.
Choose one of these methods, but not both, because the .exe versus .msi installers can install incompatible configurations.
Either method installs Cribl Edge as a Windows service. This enables Cribl Edge to automatically restart whenever the Windows Server reboots.
If you are on Cribl.Cloud, the Enabling TLS After Installation section will walk you through creating an instance.yml file upon initial Cribl Edge/Windows installation, and then copying it to the same location for each subsequent install.
Please see Known Issues for any current limitations on automatic version upgrades.
Using the Wizard
Click the Cribl Edge
.exeto launch the wizard installer.On the installer’s first page (below), select either Single Instance or Managed Edge Node as the installation type.
For Cribl.Cloud, Select Managed Edge Node.
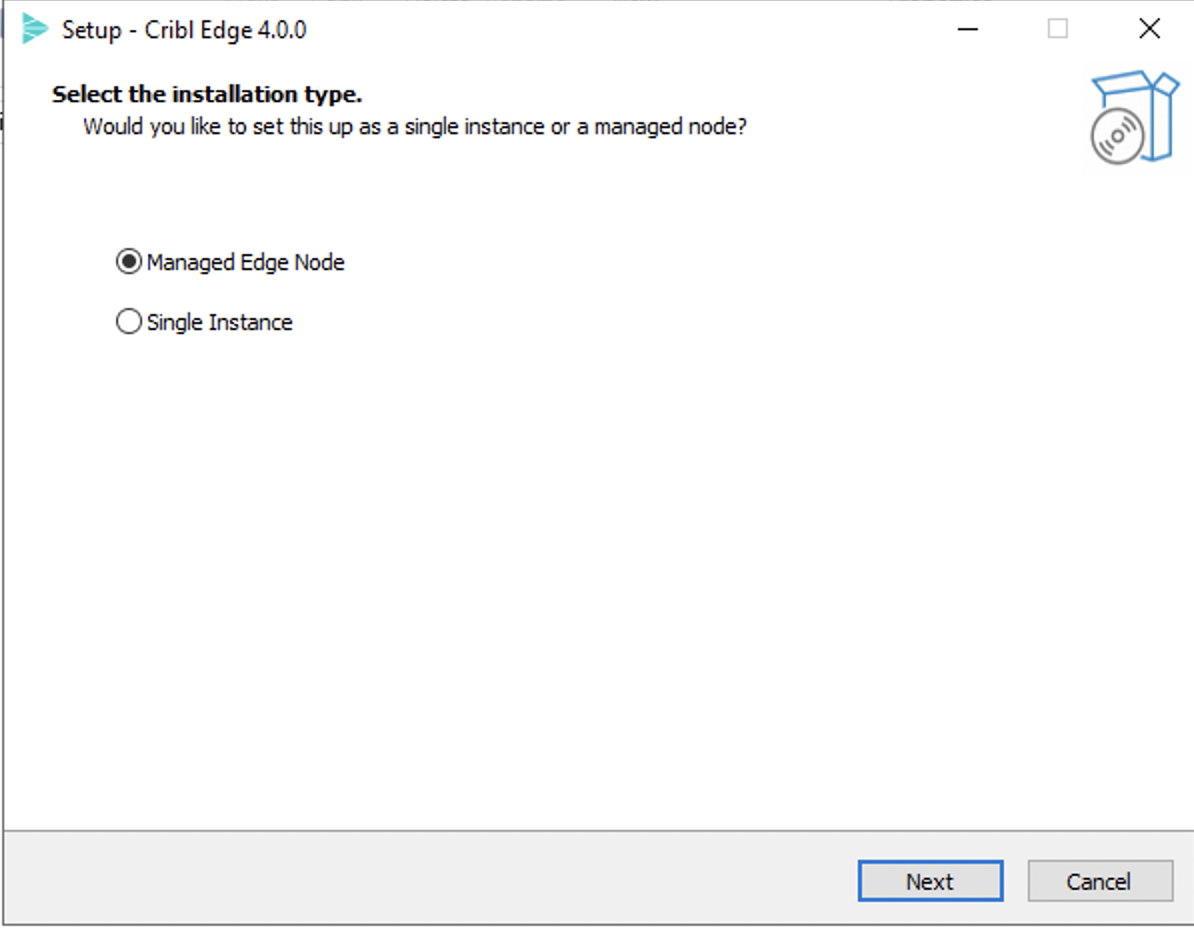
Select installation type
Enter the Leader URI (
<Leader-hostname-or-IP>:4200), and optionally enter the Fleet and Auth Token.If you’re on Cribl.Cloud, see Retrieving Cribl.Cloud Credentials to get these values.
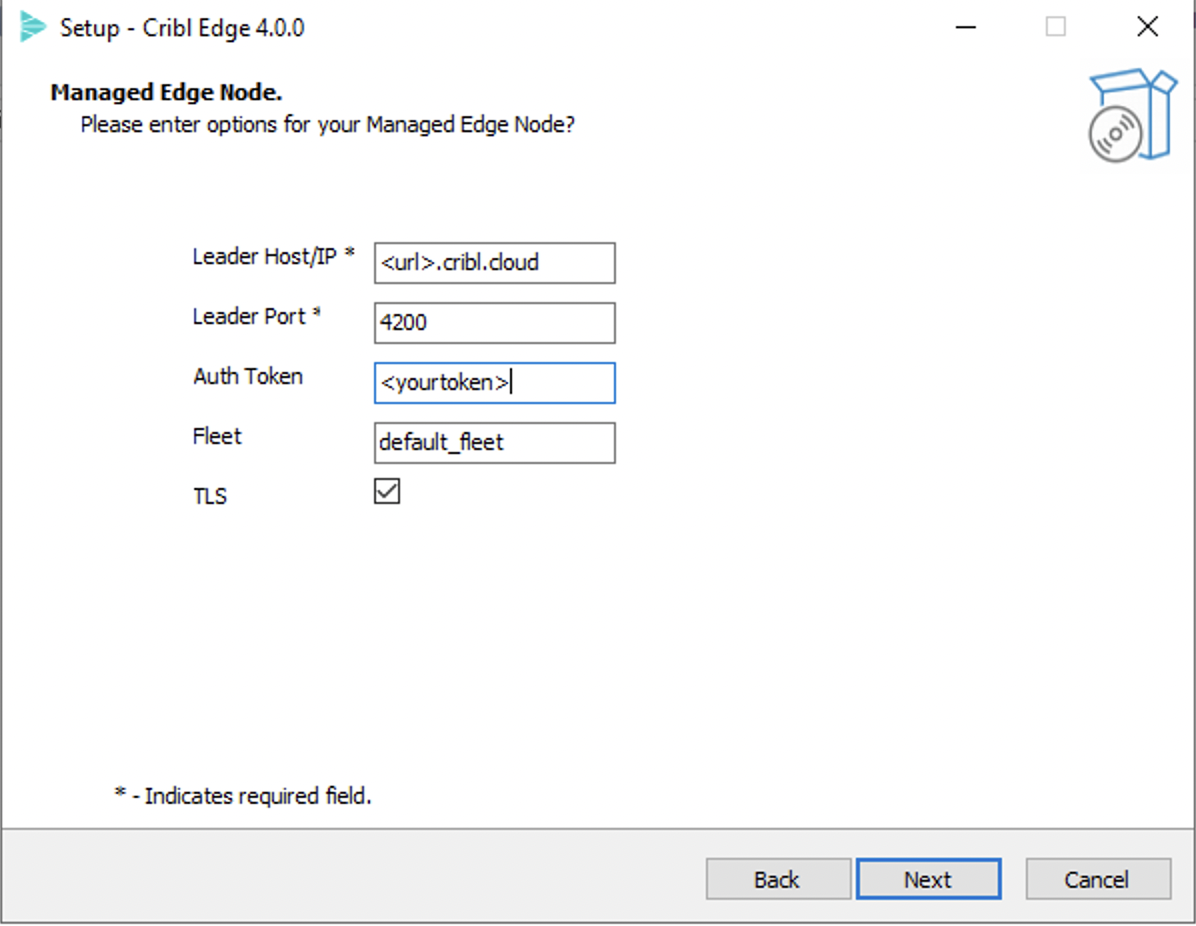
Managed Edge Node details On the wizard’s next page, confirm or change the Destination location. (The default path will expand as
C:\Program Files\Cribl\bin).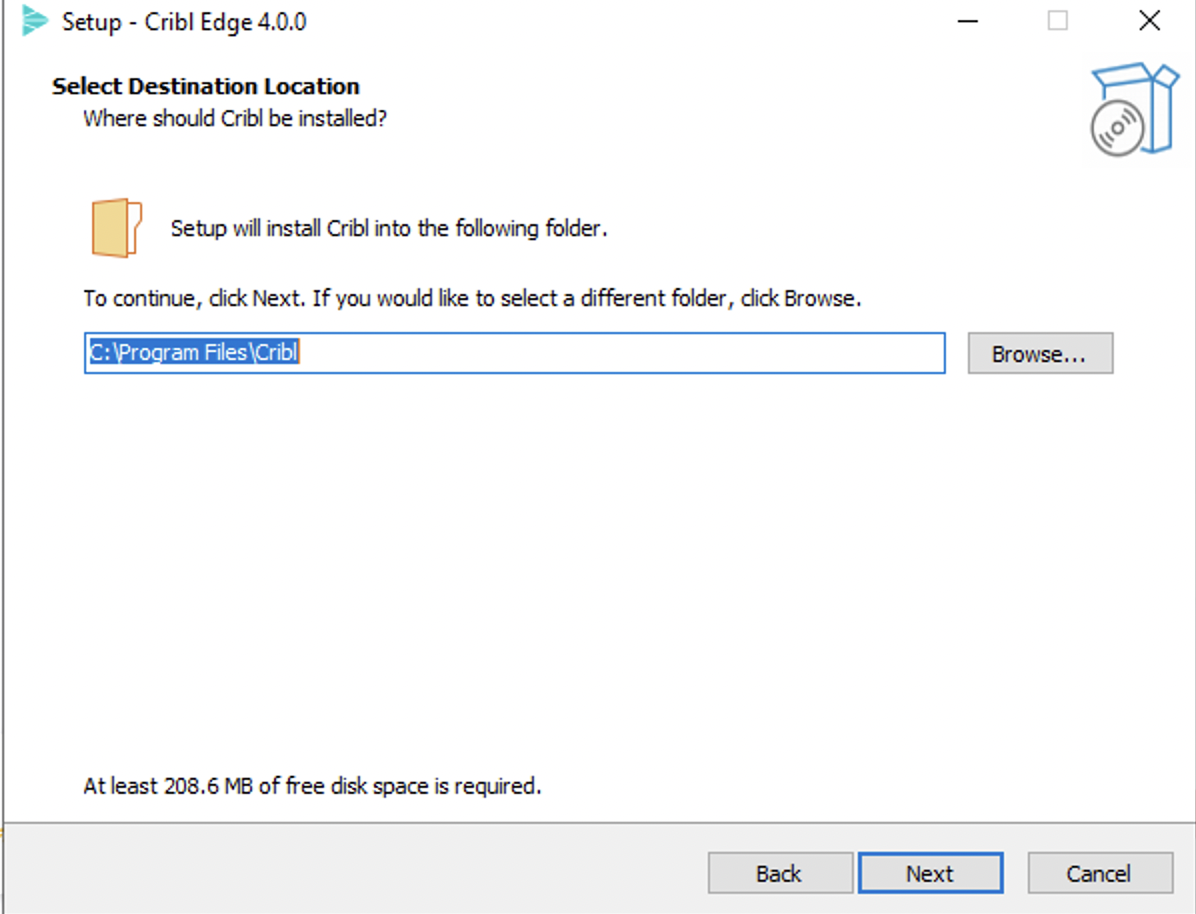
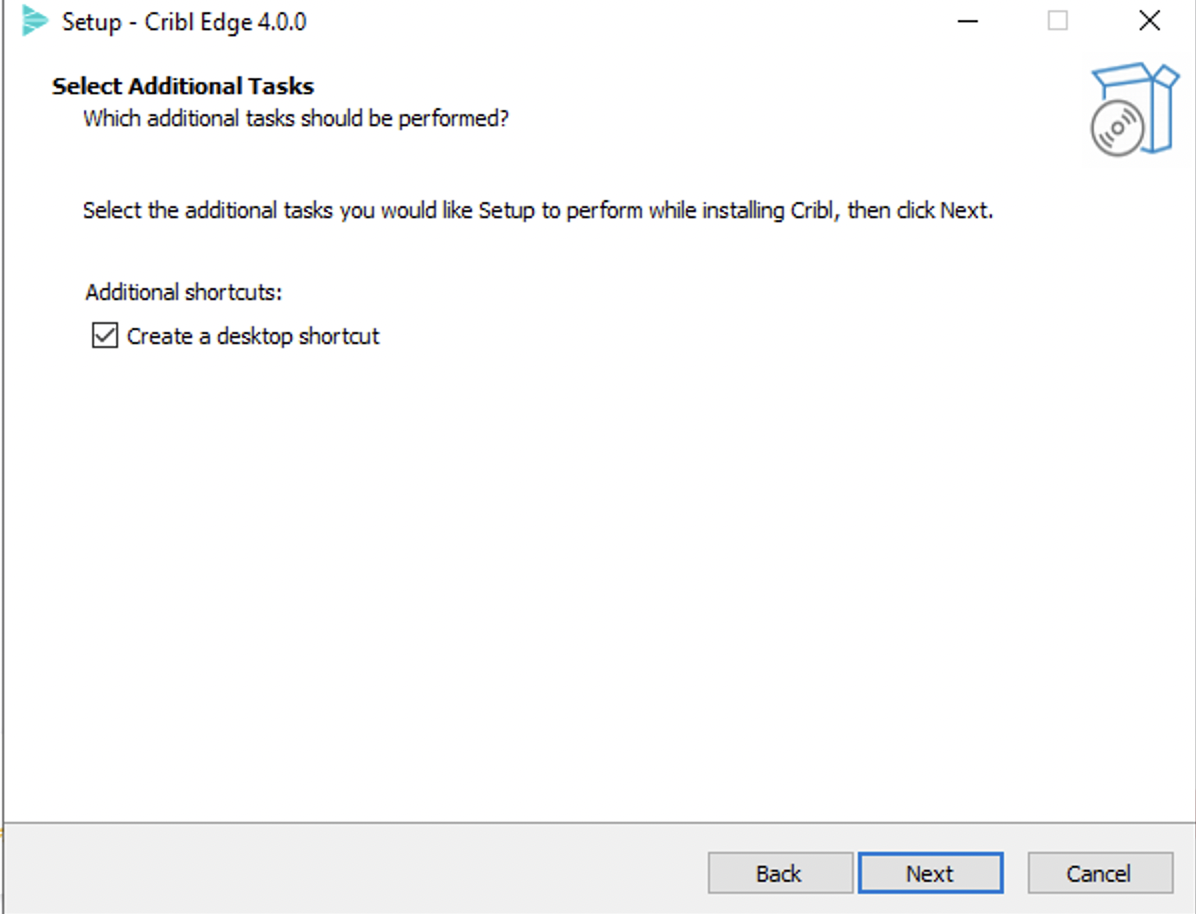
Select location On the third page, optionally select Create a desktop shortcut.
Desktop shortcut option On the final Ready to Install page, review your chosen options and click Install to confirm.
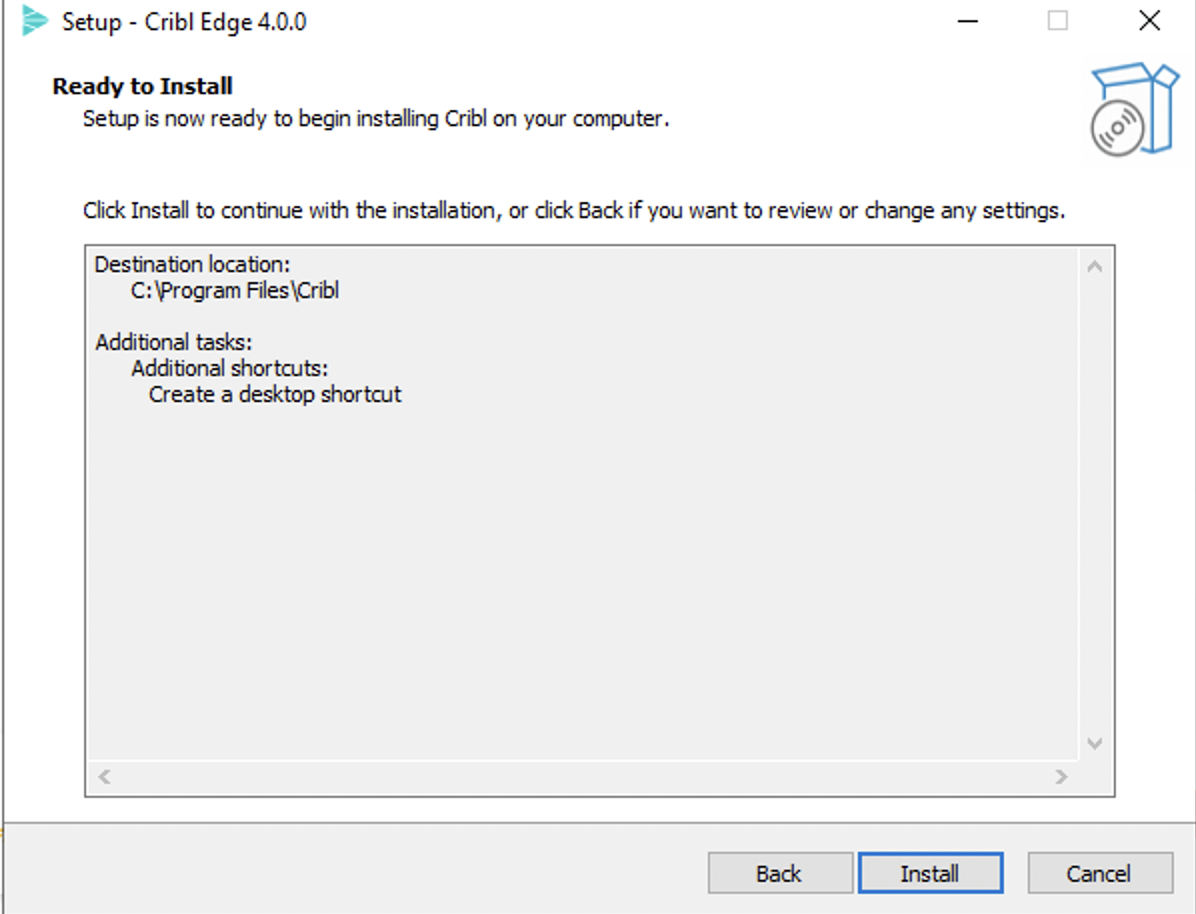
Installation summary When installation is complete, double-click the Cribl Edge icon on your Desktop or File Explorer. This will launch Cribl Edge’s login page in your default browser. Or go to
http://localhost:9420and log in with default credentials (admin:admin).
Retrieving Cribl.Cloud Credentials
On Cribl.Cloud, retrieve the Leader URI and Auth Token from your Cloud instance like this:
- Navigate to the Manage Edge Nodes page.
- From the Add/Update Edge Node control at upper right, select + Bootstrap new.
- Copy the Leader hostname/IP value, excluding the
https://. - The Leader Port field is
4200. - Display the Auth Token value, and copy/paste it into the installer. The Auth Token is required to enable communication between the Leader and Edge Node.
Cribl Edge 4.7.2 and newer includes a Powershell-specific bootstrap script.
The provided Cribl Edge bootstrap command might not work directly in PowerShell due to unescaped quotes in the
APPLICATIONROOTDIRECTORYvariable. When running the bootstrap command in PowerShell, escape the double quotes within theAPPLICATIONROOTDIRECTORYvariable. Use backticks as escape characters.
Using the MSI Installer
From the command line, you can install Cribl Edge as a single instance or as a Managed Node.
Installing Single-Instance Cribl Edge
To run Edge locally, as a single-instance deployment on your own machine, enter the following at your command prompt for a silent install:
msiexec /i cribl-<version>-<build>-<arch>.msiNext, go to http://localhost:9420 and log in with default credentials (admin:admin).
You can now start configuring Cribl Edge with Sources and Destinations, or start creating Routes and Pipelines.
Installing Managed Edge Nodes
To run Cribl Edge as a managed Node, enter the following at your command prompt for a silent install:
msiexec /i cribl-<version>-<build>.msi COMMAND="mode-managed-edge -H <master-hostname-or-IP> -p <port> -u myAuthToken [-S <true|false>]" You must include the -H and -p parameters to specify the Leader’s host and port. Optionally, you can include the -S true or -S false parameters to (respectively) enable or disable TLS communication between this Node and the Leader.
You can now manage this node from the specified Leader.
For other parameter options, see the CLI Reference. Here is an example command:
msiexec /i cribl-<version>-<build>.msi COMMAND="mode-managed-edge -H 192.0.2.1 -p 4200 -u myAuthToken -g myfleet"Enabling TLS After Installation
Some on-prem deployments don’t require secure (TLS) communication between the Leader and Edge Node. In these cases, the Managed Node will complete its configuration, followed by removing the admin/admin password. There will be no reason to locally log in, as you can manage the Edge Node via the Leader UI.
For sites using secure TLS connections to the Leader, including Cribl.Cloud, you must configure the local Edge Node to enable TLS. To do this:
- Log into your local instance (at
http://localhost:9420) with the default credentials (admin/admin). - Enable TLS locally. For details, see Connecting to the Leader Securely.
- When prompted, restart your Cribl Edge instance.
- Locate the
instance.ymlfile inProgram Files\cribl\local\_system.
To avoid this post-installation update for subsequent Windows installations to other servers, you can copy the instance.yml from this server. After the installation is complete, paste the instance.ymlfile into subsequent servers’ \Program Files\cribl\local\_system folder.
To connect each new Cribl Edge instance to this config file, you’ll need to either restart the Windows Server, or simply run the following commands as a Windows Administrator:
net stop cribl

net start criblTroubleshooting and Logging
Here are some helpful tips:
To debug .msi installation or upgrade issues, you can run msiexec.exe to set logging options. See Microsoft’s Logging Options topic.
If you want to change the installation directory, use the msiexec command APPLICATIONROOTDIRECTORY. For example:
msiexec.exe /i Cribl-Edge.msi APPLICATIONROOTDIRECTORY="C:\test\" /L*V "C:\Log\CriblInstall.log"If you’re using PowerShell to run the silent install, add two extra pairs of quotes to escape the command’s own quote delimiters. For example:
msiexec /i cribl-<version>-<build>.msi COMMAND="""mode-managed-edge -H 192.0.2.1 -p 4200 -u myAuthToken -g myfleet"""Change the Installation Directory
If you want to change the installation directory, use the msiexec command APPLICATIONROOTDIRECTORY. For example:
msiexec.exe /i Cribl-Edge.msi APPLICATIONROOTDIRECTORY="C:\test\" /L*V "C:\Log\CriblInstall.log"If you’re using PowerShell to run the silent install, add two extra pairs of quotes to escape the command’s own quote delimiters. For example:
msiexec /i cribl-<version>-<build>.msi MODE=mode-managed-edge HOSTNAME=192.0.2.1 PORT=4200 AUTH=myAuthToken FLEET=myfleetChange the Data Directory Location
By default, Cribl Edge stores its runtime data in C:\ProgramData\Cribl. To move this data directory to a different location, use the VOLUMEDIR property during installation.
VOLUMEDIR specifies the runtime data location, not where application binaries are stored. If the directory doesn’t already exist, it will be created. This setting must be configured during the initial MSI installation or any subsequent upgrades. For example:
msiexec /qn /i cribl-<version>-<build>.msi VOLUMEDIR=D:\CriblData MODE=mode-managed-edge HOSTNAME=192.0.2.1 PORT=4200 AUTH=myAuthToken FLEET=myfleet KEEPDATA=1 This stores runtime data in D:\CriblData instead of the default C:\ProgramData\Cribl, while keeping application binaries in C:\Program Files\Cribl.