


These docs are for Cribl Edge 4.8 and are no longer actively maintained.
See the latest version (4.17).
Installing Cribl Edge on Windows
You can install Cribl Edge in a supported Windows environment.
Supported Windows Versions
Cribl Edge supports these versions of Windows:
- Windows Servers 2016, 2019, and 2022.
- Windows 10 and 11, as long as the Windows node:
- Has an always-on network connection to the Leader.
- Is running the 64-bit version of Windows.
- Does not have power management features enabled, like sleep or hibernate.
Before You Install Cribl Edge on Windows
- Set a compatible browser as your default browser: Microsoft Edge, Firefox, or Chrome. (We support the five most-recent versions of these browsers. Cribl Edge is not compatible with Internet Explorer.)
- Cribl Edge on Windows relies on PowerShell for certain operational tasks. Verify that PowerShell is installed and accessible on your Windows systems.
- Ensure that the required ports are available (see Network Ports).
- Go to the Cribl Download page and set the Software drop-down to
Cribl Edge for Windows. - Click Download Now to get the
.msiinstaller.
You can also concatenate and copy/paste the bootstrap script in your command prompt to add Windows Node.
About Environment Variables
Environment variables specified during installation are added to the service configuration in the Windows registry under HKEY_LOCAL_MACHINE\SYSTEM\CurrentControlSet\Services\cribl in the Environment key.
When setting environment variables:
- You can add but not remove environment variables using the interactive wizard.
- Variables are merged in the following priority order (highest to lowest):
- Variables specified via command line during installation.
- Existing environment variables already configured for the service.
This ensures that command-line specifications take precedence over existing configurations, while preserving any previously set variables not explicitly overridden.
The CRIBL_VOLUME_DIR variable is stored separately in the Windows registry using the NSSM configuration path, which is different from where other environment variables are stored. NSSM is the service management tool used by Cribl Edge to run as a Windows service. For details, see What is the nssm.exe process in the Frequently Asked Questions section below.
Select the Installation Type
You now have two installation options:
- Launch the
.msito install via an interactive wizard. - Use the
.msito install via a command prompt, or to script bulk installs.
Either method installs Cribl Edge as a Windows service. This enables Cribl Edge to automatically restart whenever the Windows Server reboots.
If you are on Cribl.Cloud, the Enabling TLS After Installation section will walk you through creating an instance.yml file upon initial Cribl Edge/Windows installation, and then copying it to the same location for each subsequent install.
Please see Known Issues for any current limitations on automatic version upgrades.
Use the Wizard
Double-click the Cribl Edge
.msito launch the Cribl Edge Setup Wizard. Click Next to start.Read the End-User License Agreement and check the box to accept the terms. For the most current copy and details, see Terms of Service.
On the wizard’s next page, confirm or change the Destination Folder. (The default path will expand as
C:\Program Files\Cribl\bin).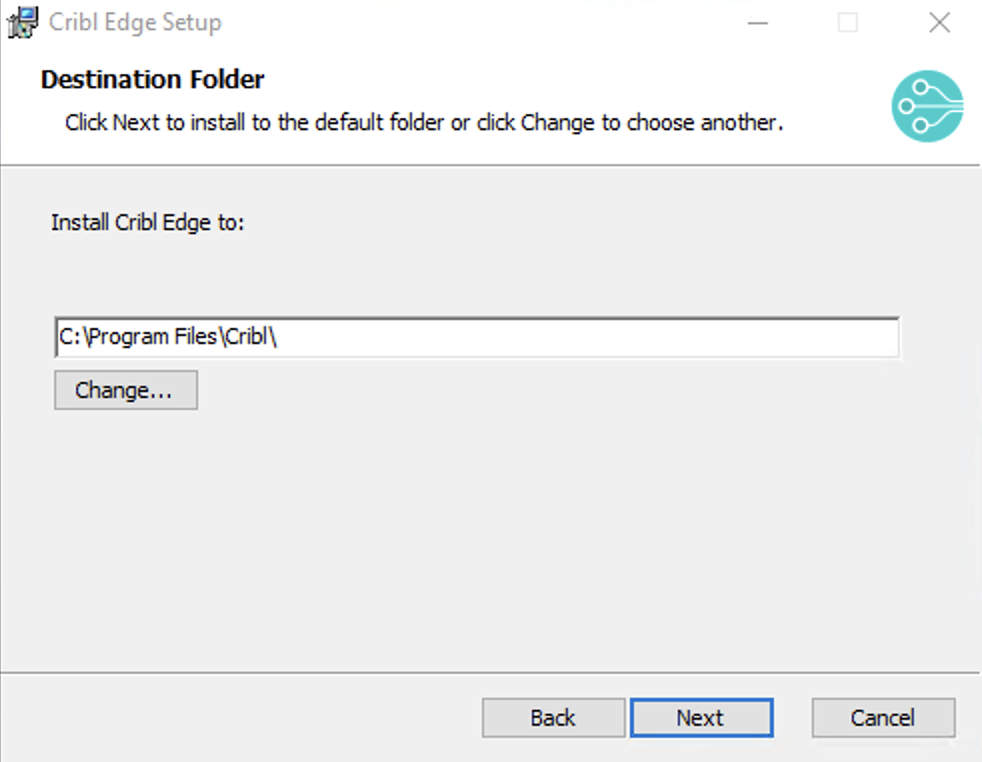
Select location If the installer detects a config file from a previous installation (prior to v.4.1), the modal will ask you if you want to keep your current config. Check the box next to
Keep Configto persist your previous configurations stored in theinstance.ymlfile. Click Next to continue.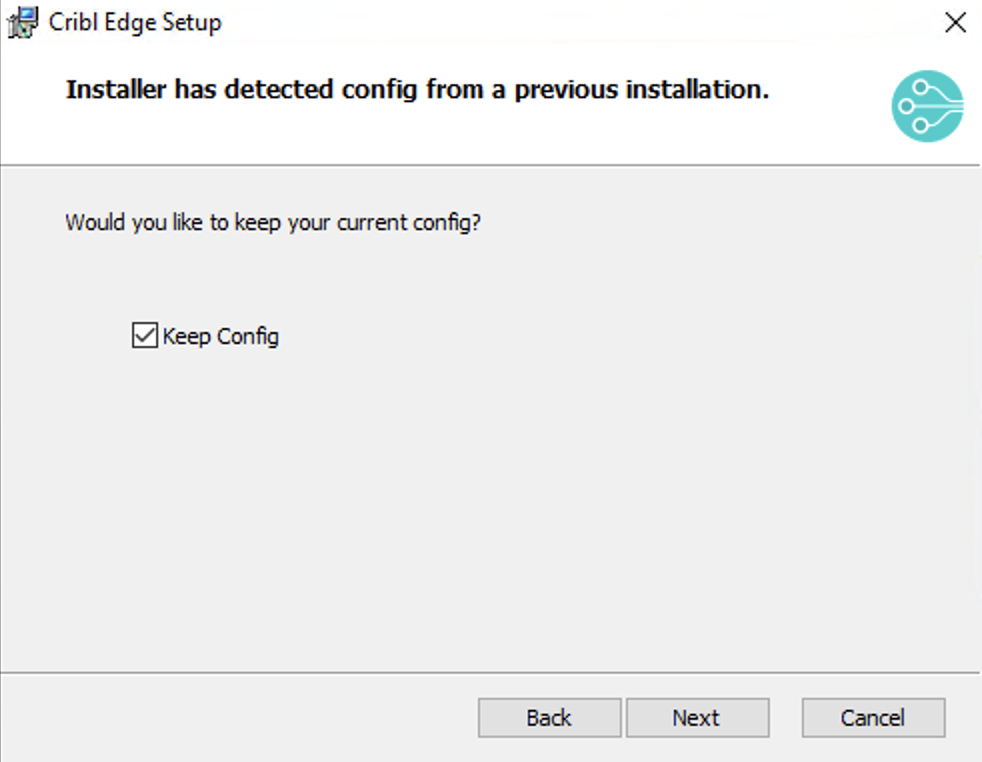
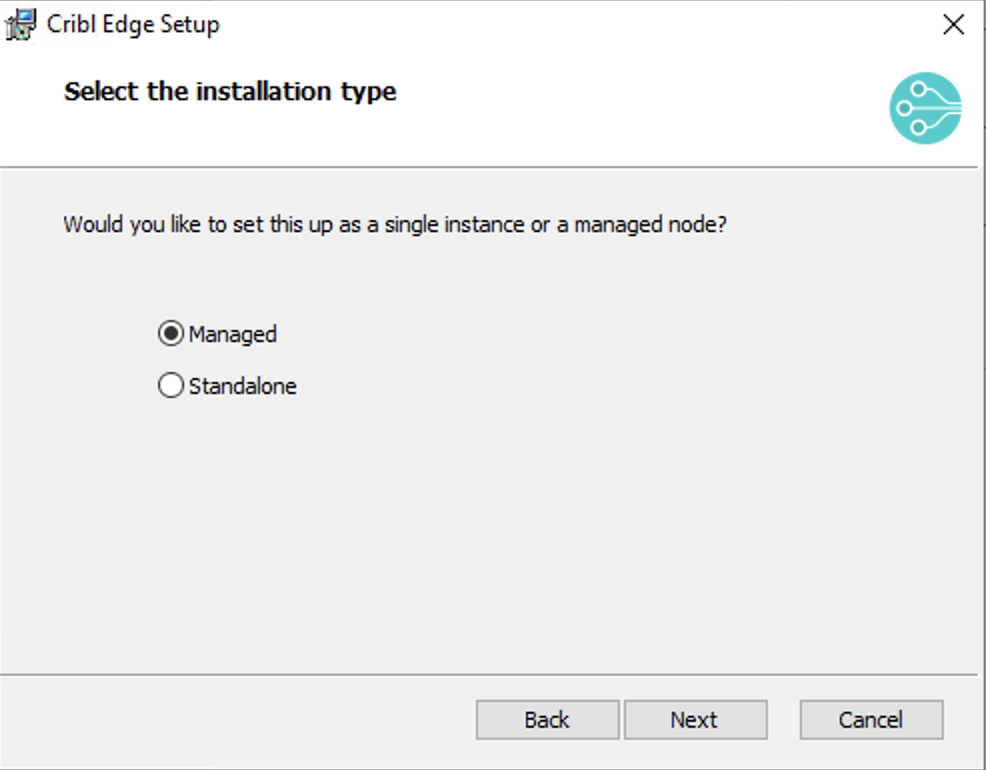
Keep Config If you chose to keep your previous configuration, the installer will skip this option to Select the installation type. Select either Managed or Standalone as the installation type.
For Cribl.Cloud, Select Managed Edge Node.
Select installation type If you select Managed mode, enter the Leader URI (
<Leader-hostname-or-IP address>), Auth Token, and optionally the Fleet.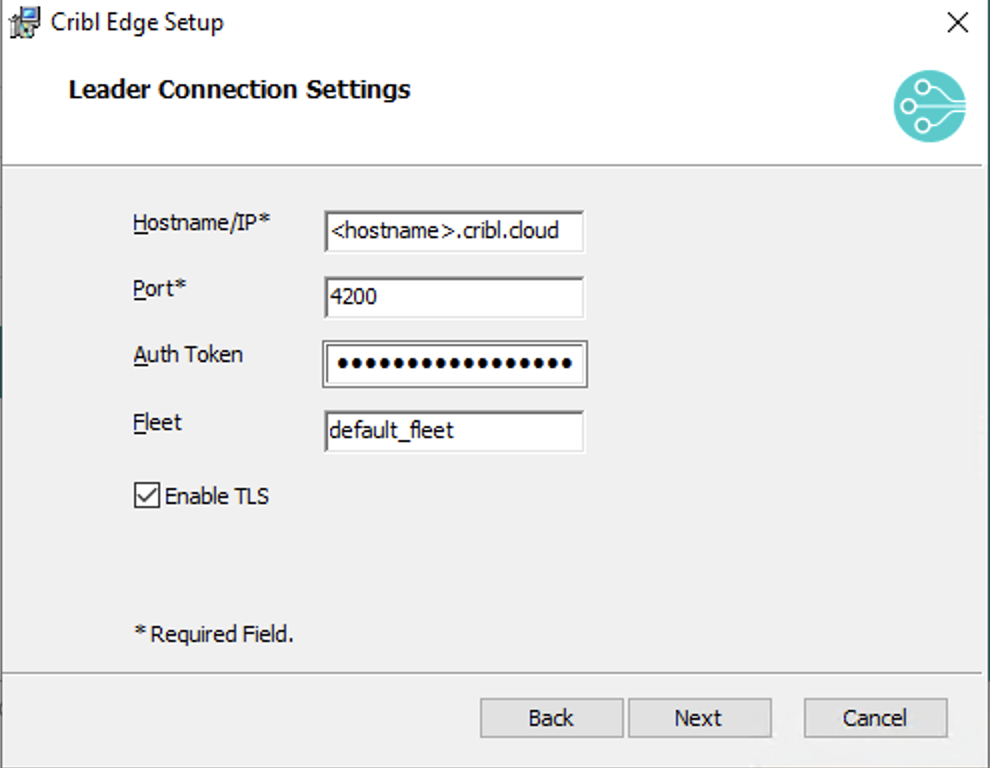
Connection Details Optionally, Log in as Local System is checked by default. Uncheck it to enter your Username and Password credentials to run Cribl Edge. To successfully log Cribl Edge as a service, you might need to include the domain name in the Username. Click Next to continue.
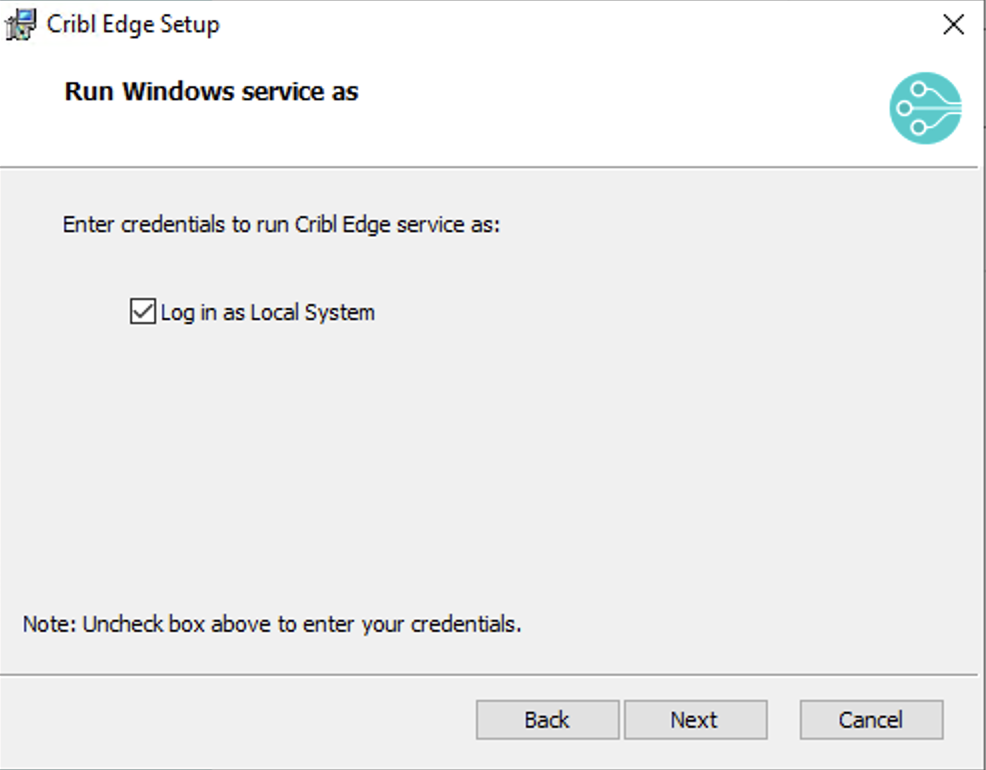
Log in as Local System 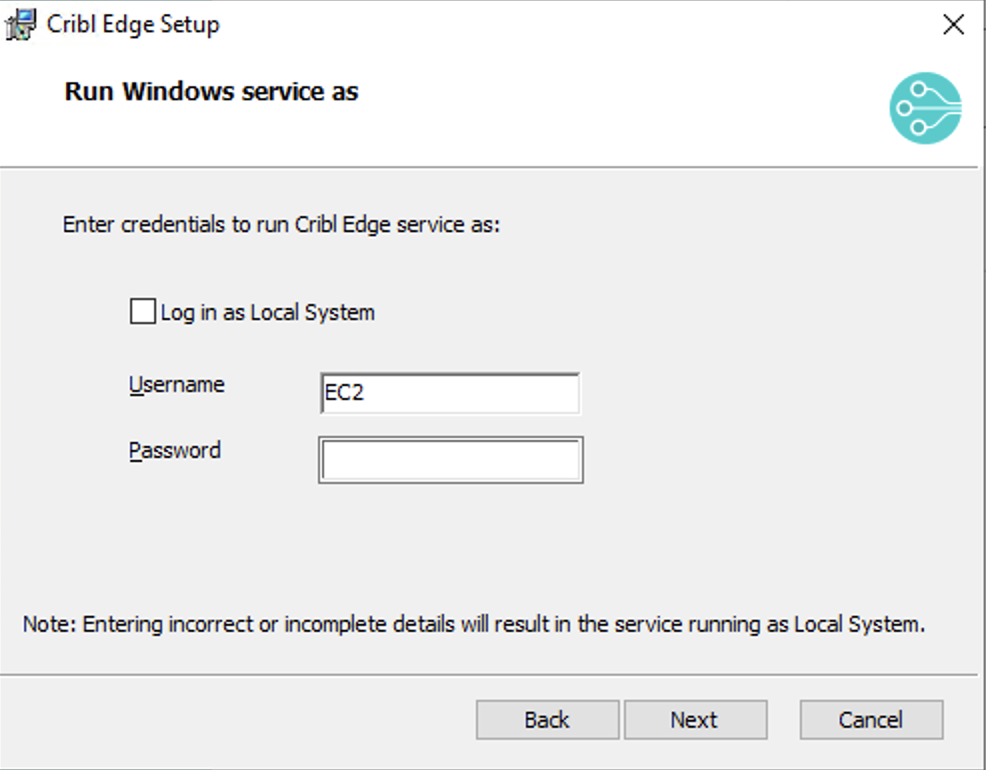
Use Credentails Optionally select Create a desktop shortcut.

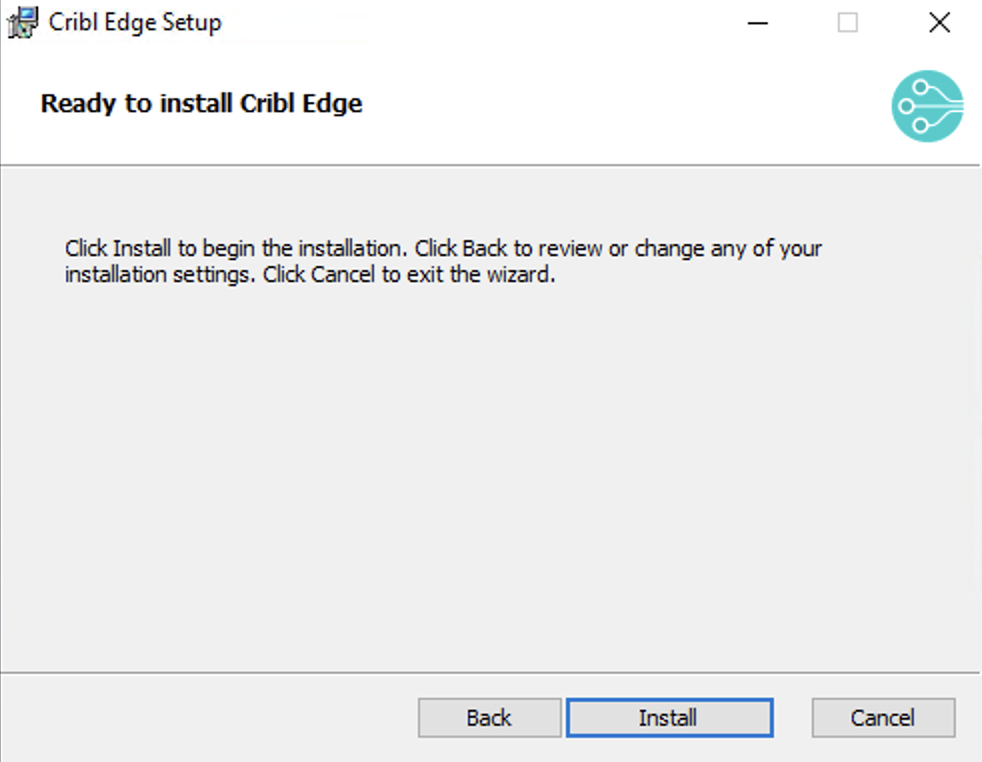
Desktop shortcut option On the final Ready to Install page, click Install to confirm.
Installation summary When installation is complete, double-click the Cribl Edge icon on your Desktop or File Explorer. This will launch Cribl Edge’s login page in your default browser. Or go to
http://localhost:9420and log in with default credentials (admin:admin).
As of Cribl Edge v.4.0, the modified data (including the
instance.yml) now goes toC:\ProgramData\Criblinstead ofC:\Program Files\Cribl.
Retrieving Cribl.Cloud Credentials
On Cribl.Cloud, retrieve the Leader URI and Auth Token from your Cloud instance like this:
- Navigate to the Manage Edge Nodes page.
- From the Add/Update Edge Node control at upper right, select Bootstrap new.
- Select Add Windows.
- Copy the Leader hostname/IP value.
- The Leader Port field is
4200. - Display the Auth Token value, and copy/paste it into the installer. The Auth Token is required to enable communication between the Leader and Edge Node.
The provided Cribl Edge bootstrap command might not work directly in PowerShell due to unescaped quotes in the
APPLICATIONROOTDIRECTORYvariable. When running the bootstrap command in PowerShell, escape the double quotes within theAPPLICATIONROOTDIRECTORYvariable. Use backticks as escape characters.
Use the MSI Installer
From the command line, you can install Cribl Edge as a single instance or as a Managed Node.
Installing Single-Instance/Standalone Cribl Edge
To run Edge locally, as a single-instance deployment on your own machine, enter the following at your command prompt for a silent install:
msiexec /qn /i cribl-<version>-<build>-<arch>.msi Next, go to http://localhost:9420 and log in with default credentials (admin:admin).
You can now start configuring Cribl Edge with Sources and Destinations, or start creating Routes and Pipelines.
Installing Managed Edge Nodes
You can use the Leader UI to concatenate and copy/paste the bootstrap script for adding a Windows Node.
Or, to run Cribl Edge as a managed Node, enter the following at your command prompt for a silent install:
msiexec /qn /i cribl-<version>-<build>.msi MODE=mode-managed-edge HOSTNAME=<yourhostname> PORT=4200 AUTH=myAuthToken FLEET=myfleetFor Cribl Edge v.4.1.0 or later, use the flag KEEPDATA=1 to persist data between installs. KEEPDATA will not overwrite the existing configurations, state, logs, etc.
msiexec /qn /i cribl-<version>-<build>.msi KEEPDATA=1For prior versions, use the flag COPYDATA=1 to persist data between installs. COPYDATA copies the instance.yml file from C:\Program Files\Cribl to C:\ProgramData\Cribl.
You can now manage this node from the specified Leader.
For other parameter options, see the CLI Reference. Here is an example command:
msiexec /qn /i cribl-<version>-<build>.msi MODE=mode-managed-edge HOSTNAME=192.0.2.1 PORT=4200 AUTH=myAuthToken FLEET=myfleet COPYDATA=1Enable TLS After Installation
Some on-prem deployments don’t require secure (TLS) communication between the Leader and Edge Node. In these cases, the Managed Node will complete its configuration, followed by removing the admin/admin password. There will be no reason to locally log in, as you can manage the Edge Node via the Leader UI.
For sites using secure TLS connections to the Leader, including Cribl.Cloud, you must configure the local Edge Node to enable TLS. To do this:
- Log into your local instance (at
http://localhost:9420) with the default credentials (admin/admin). - Enable TLS locally. For details, see Connecting to the Leader Securely.
- When prompted, restart your Cribl Edge instance.
- Locate the
instance.ymlfile in:- Cribl Edge v.4.0.X or earlier:
Program Files\cribl\local\_system. - Cribl Edge v. 4.1 or later:
C:\ProgramData\Cribl.
- Cribl Edge v.4.0.X or earlier:
To avoid this post-installation update for subsequent Windows installations to other servers, you can copy the instance.yml from this server. After the installation is complete, paste the instance.ymlfile into subsequent servers’ \Program Files\cribl\local\_system folder.
To connect each new Cribl Edge instance to this config file, you’ll need to either restart the Windows Server, or simply run the following commands as a Windows Administrator:
net stop cribl

net start criblTroubleshooting and Logging
Here are some helpful tips:
Setting Logging Options
To debug .msi installation or upgrade issues, you can run msiexec.exe to set logging options. See Microsoft’s Logging Options topic.
Change the Installation Directory
If you want to change the installation directory, use the msiexec command APPLICATIONROOTDIRECTORY. For example:
msiexec.exe /i Cribl-Edge.msi APPLICATIONROOTDIRECTORY="C:\test\" /L*V "C:\Log\CriblInstall.log"If you’re using PowerShell to run the silent install, add two extra pairs of quotes to escape the command’s own quote delimiters. For example:
msiexec /i cribl-<version>-<build>.msi MODE=mode-managed-edge HOSTNAME=192.0.2.1 PORT=4200 AUTH=myAuthToken FLEET=myfleetChange the Data Directory Location
By default, Cribl Edge stores its runtime data in C:\ProgramData\Cribl. To move this data directory to a different location, use the VOLUMEDIR property during installation.
VOLUMEDIR specifies the runtime data location, not where application binaries are stored. If the directory doesn’t already exist, it will be created. This setting must be configured during the initial MSI installation or any subsequent upgrades. For example:
msiexec /qn /i cribl-<version>-<build>.msi VOLUMEDIR=D:\CriblData MODE=mode-managed-edge HOSTNAME=192.0.2.1 PORT=4200 AUTH=myAuthToken FLEET=myfleet KEEPDATA=1 This stores runtime data in D:\CriblData instead of the default C:\ProgramData\Cribl, while keeping application binaries in C:\Program Files\Cribl.
Frequently Asked Questions
Here are some common questions about Cribl Edge on Windows, and the answers!
Q: What is the nssm.exe process?
A: nssm.exe is a wrapper for the cribl.exe binary. It gives Windows Service
Manager the ability to manage an executable program without having to provide a
number of required binary APIs on the executable. So, instead of the cribl.exe
binary needing to provide the APIs, nssm.exe acts as an intermediary, providing
the necessary APIs itself and subsequently spawning cribl.exe as a child
process.
Q: Why is nssm.exe important?
A: The nssm.exe process ensures that Cribl Edge is stable and reliable on
Windows, both by booting up Cribl Edge and restarting it for you. With
the nssm.exe process running, Cribl Edge remains operational even if it closes
unexpectedly. While some antivirus software might flag nssm.exe due to its
monitoring and restart functionality, nssm.exe is a legitimate and essential
component of Cribl Edge.
High CPU utilization may appear shortly after launching Cribl Edge but is not necessarily related to
nssm.exe. We recommend waiting for Cribl Edge to fully boot and stabilize before checking CPU usage.