




Enable Cribl Insights
Enable Insights on the main Workspace and additional Workspaces and choose a data retention tier.
On the Main Workspace, Insights is already enabled for you with 48-hour data retention. If you are a Workspace Admin, you can upgrade that retention under Workspace > Details > Insights.
Insights on multiple Workspaces requires a Cribl.Cloud Enterprise plan.
Permissions on Cribl Insights
Enabling Cribl Insights does not grant Members access. Assign product-level Cribl Insights Permissions the same way as for other products, when you invite or add Members. Assign Permissions on the System Insights, Data Insights, and Alerts sub-products at Settings > Insights > Members and Teams.
Free and Paid Additional Workspaces
Within an Organization, you can also enable Insights on up to two additional Workspaces for free, with 48-hour data retention. The Main Workspace does not count toward this limit.
To enable Insights on more than two additional Workspaces, or to retain data for longer than 48 hours, choose a paid retention tier. Paid tiers are 7 days, 1 month, 3 months, and 1 year. For pricing details, see Insights Pricing.
You can switch which additional Workspaces have free Insights enabled once every 12 months.
The free limit is enforced across your Organization:
- A Workspace that is still provisioning counts as consuming a free slot.
- An additional Workspace becomes eligible for free 48-hour Insights when you:
- Upgrade a Workspace currently using a free Insights slot to a paid data retention tier, or
- Delete a Workspace that currently uses a free slot.
Enable Insights on an Additional Workspace
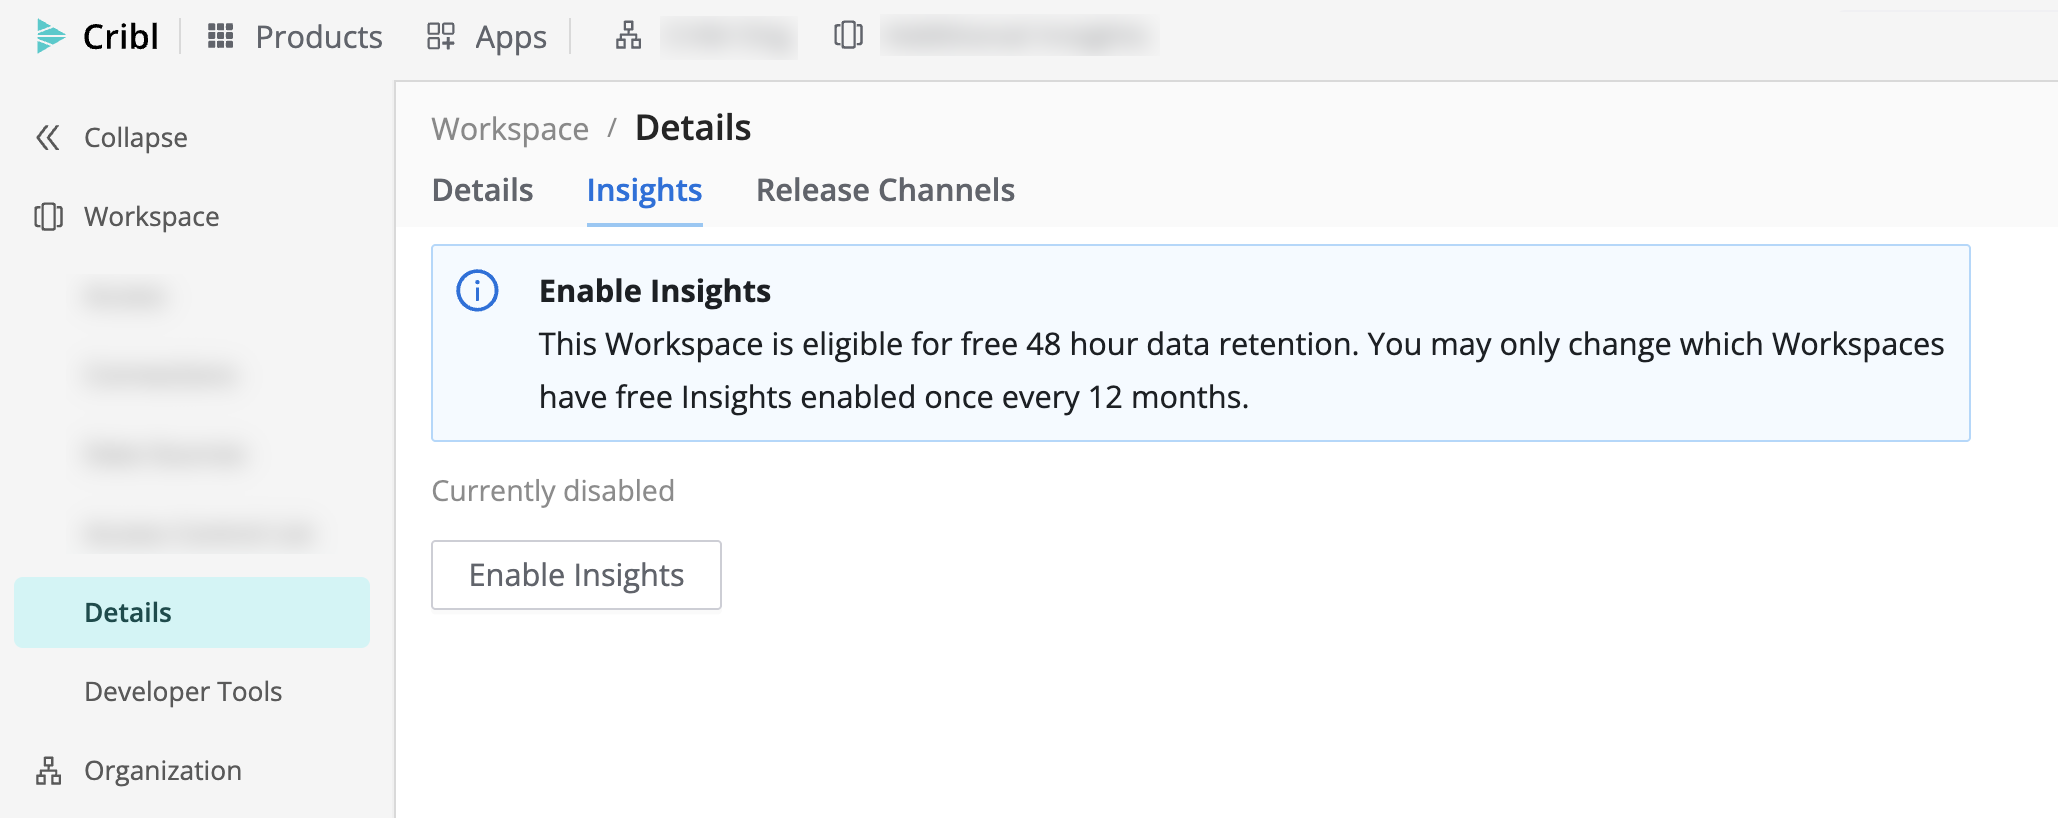
- Select the additional Workspace where you want to enable Insights.
- In the sidebar, select Workspace, then Details.
- Select the Insights tab.
- Select Enable Insights.
- In the Insights Data Retention modal, choose a retention tier:
- If your Organization has free slots remaining, you can select the free 48 hours option.
- If your Organization has already used its free additional Workspace slots, the free option is disabled, and only paid tiers are available.
- Confirm your selection to begin enablement.
Enable Insights When Creating a Workspace
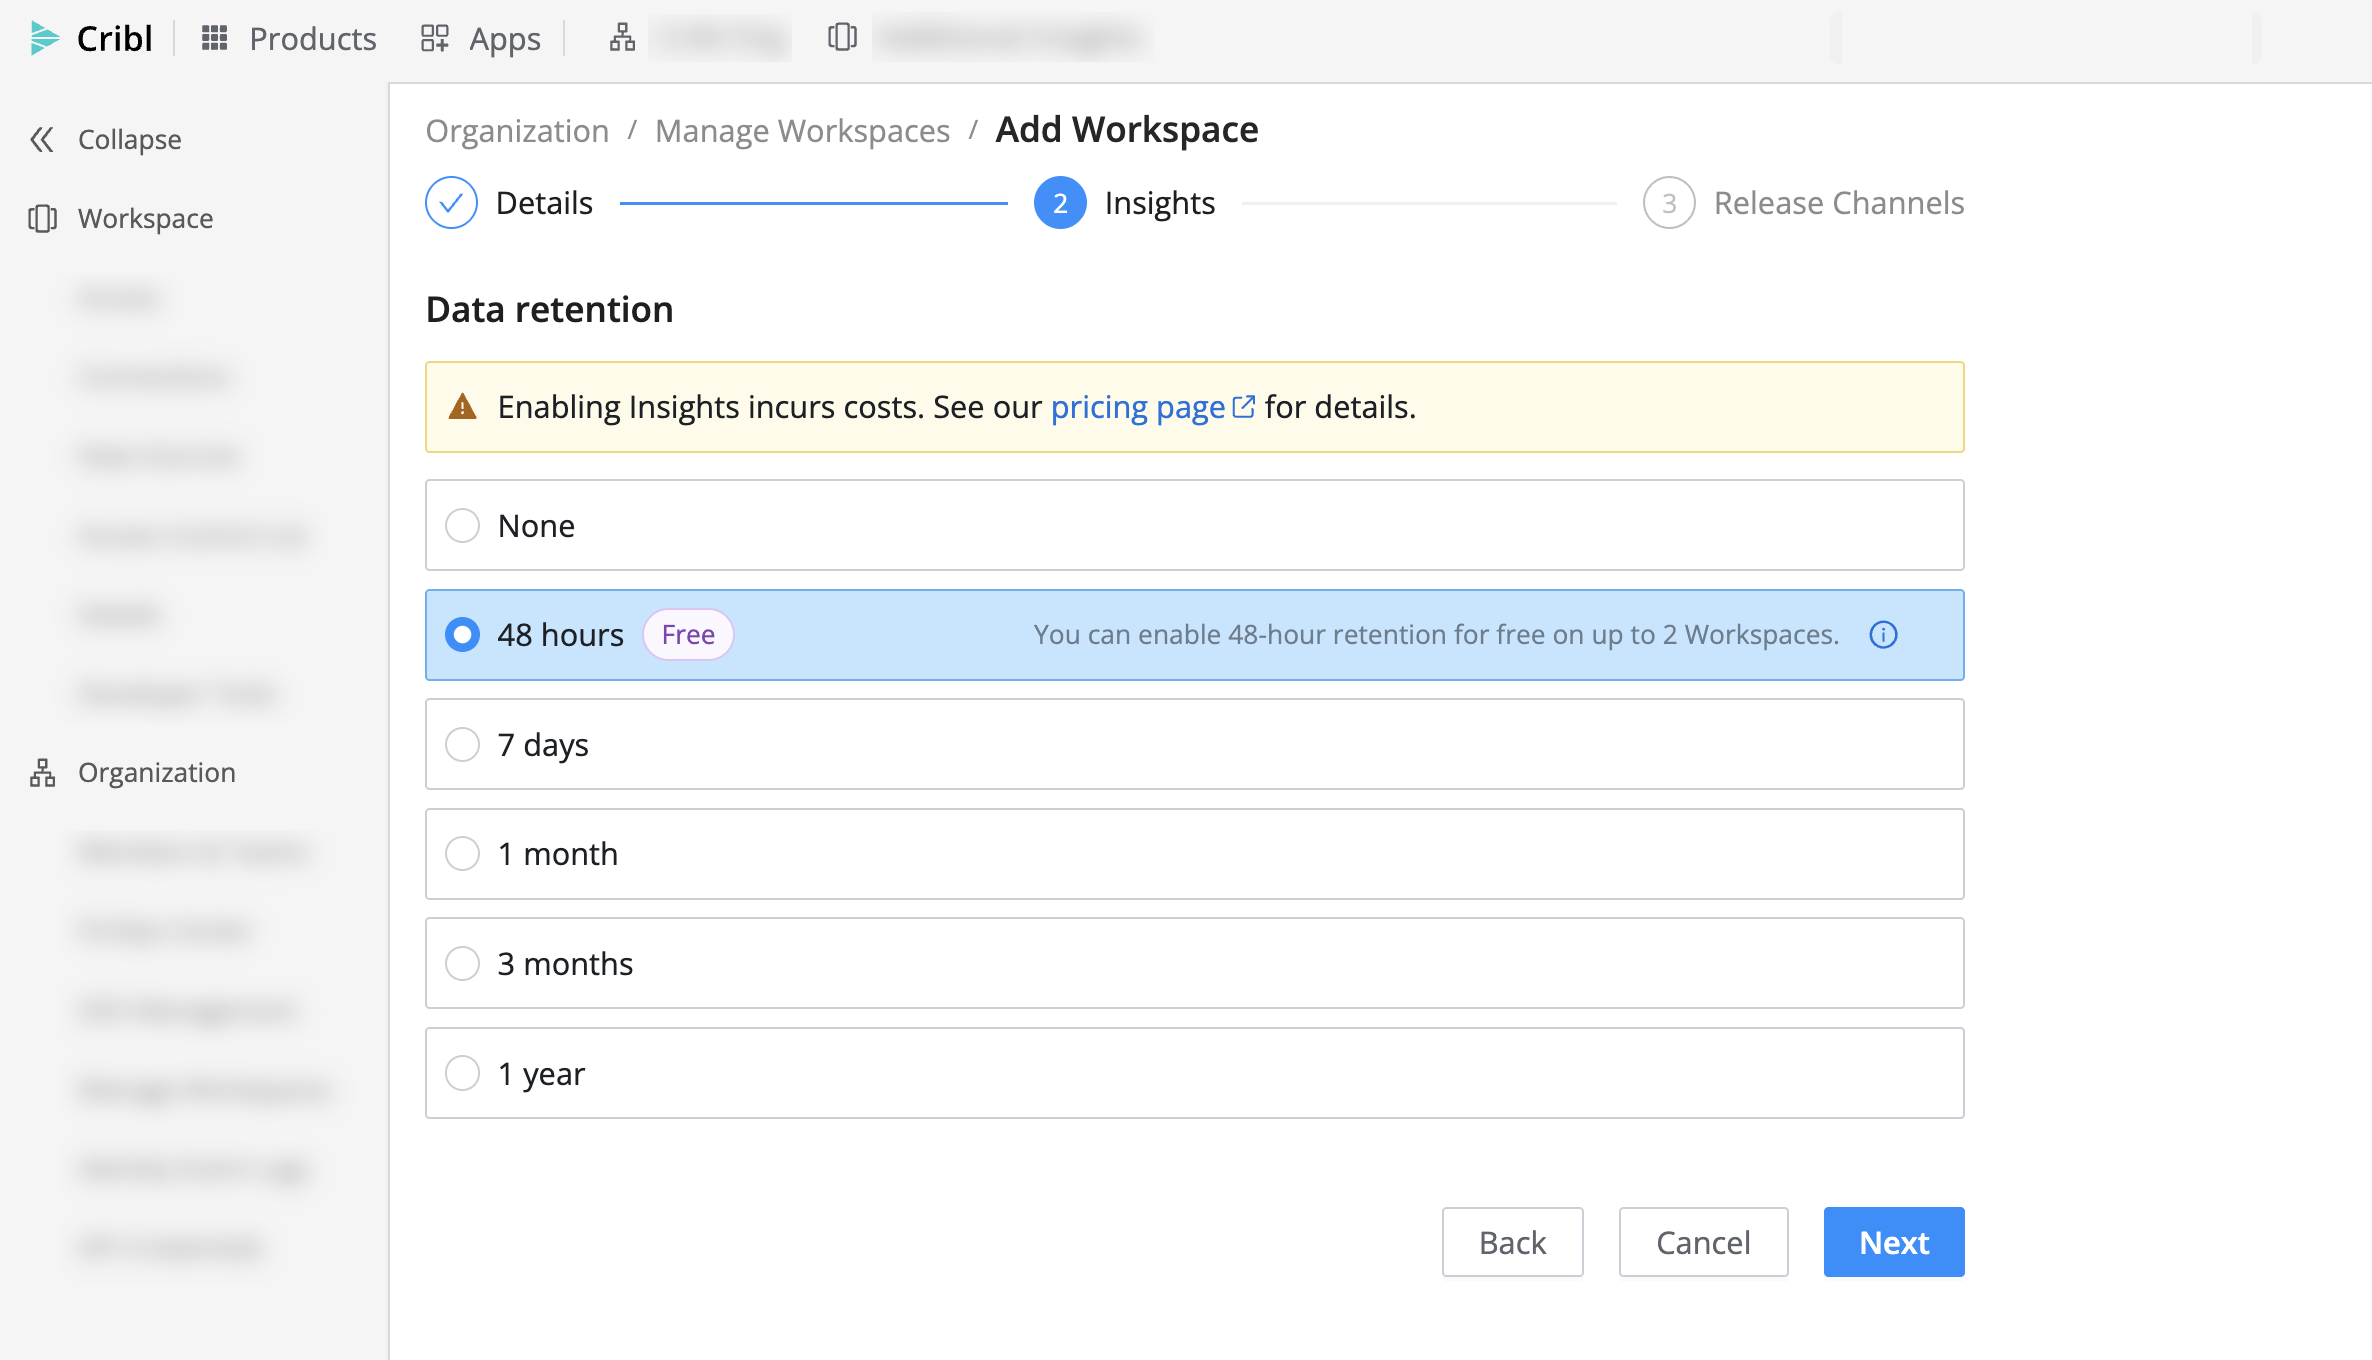
You can also enable Insights in the Add Workspace workflow. After you enter Workspace details and select Next, the wizard opens an Insights step:
- In the Data retention page, select a retention option. Select None (default) if you do not want to enable Insights on the new Workspace.
- Select Next, then finish configuring release channels and save the Workspace.
The same free-slot and retention-tier logic applies during Workspace creation. Enabling Insights can incur costs. See Insights Pricing.
Enablement and Upgrade Timing
Initial enablement and retention upgrades behave differently:
- Initial enablement takes about 15 minutes and includes Leader downtime during that window. Plan enablement for a maintenance period.
- Upgrading the retention tier on a Workspace that already has Insights enabled is near-immediate and does not require a Leader restart.
View Retention Status
To review which Workspaces have Insights enabled and their retention status, in the sidebar, select Workspace or Organization, then Manage Workspaces. The list includes the Cribl Insights retention status for each Workspace in your Organization.