





Ingest Splunk Forwarder Data into Cribl Search
Collect S2S traffic from Splunk universal or heavy forwarders to store it in Cribl Search for fast analysis.
Before You Begin
You’ll need:
- Cribl.Cloud Enterprise. For details, see Pricing.
- Search Editor Permission, or higher. Learn who can do what at Cribl Search Permissions.
- A Splunk sender that can reach Cribl Search over TCP (for example, a Splunk universal forwarder).
You don’t need Cribl Stream, Edge, or Lake. (Looking for the Splunk TCP Source in Cribl Stream instead?)
1. Add a Lakehouse Engine
See Lakehouse Engines in Cribl Search.
2. Set Up Your Search Datasets
Create the Search Datasets you’ll route events into, and set their retention. See Create Search Datasets.
3. Add a Splunk TCP Source in Cribl Search
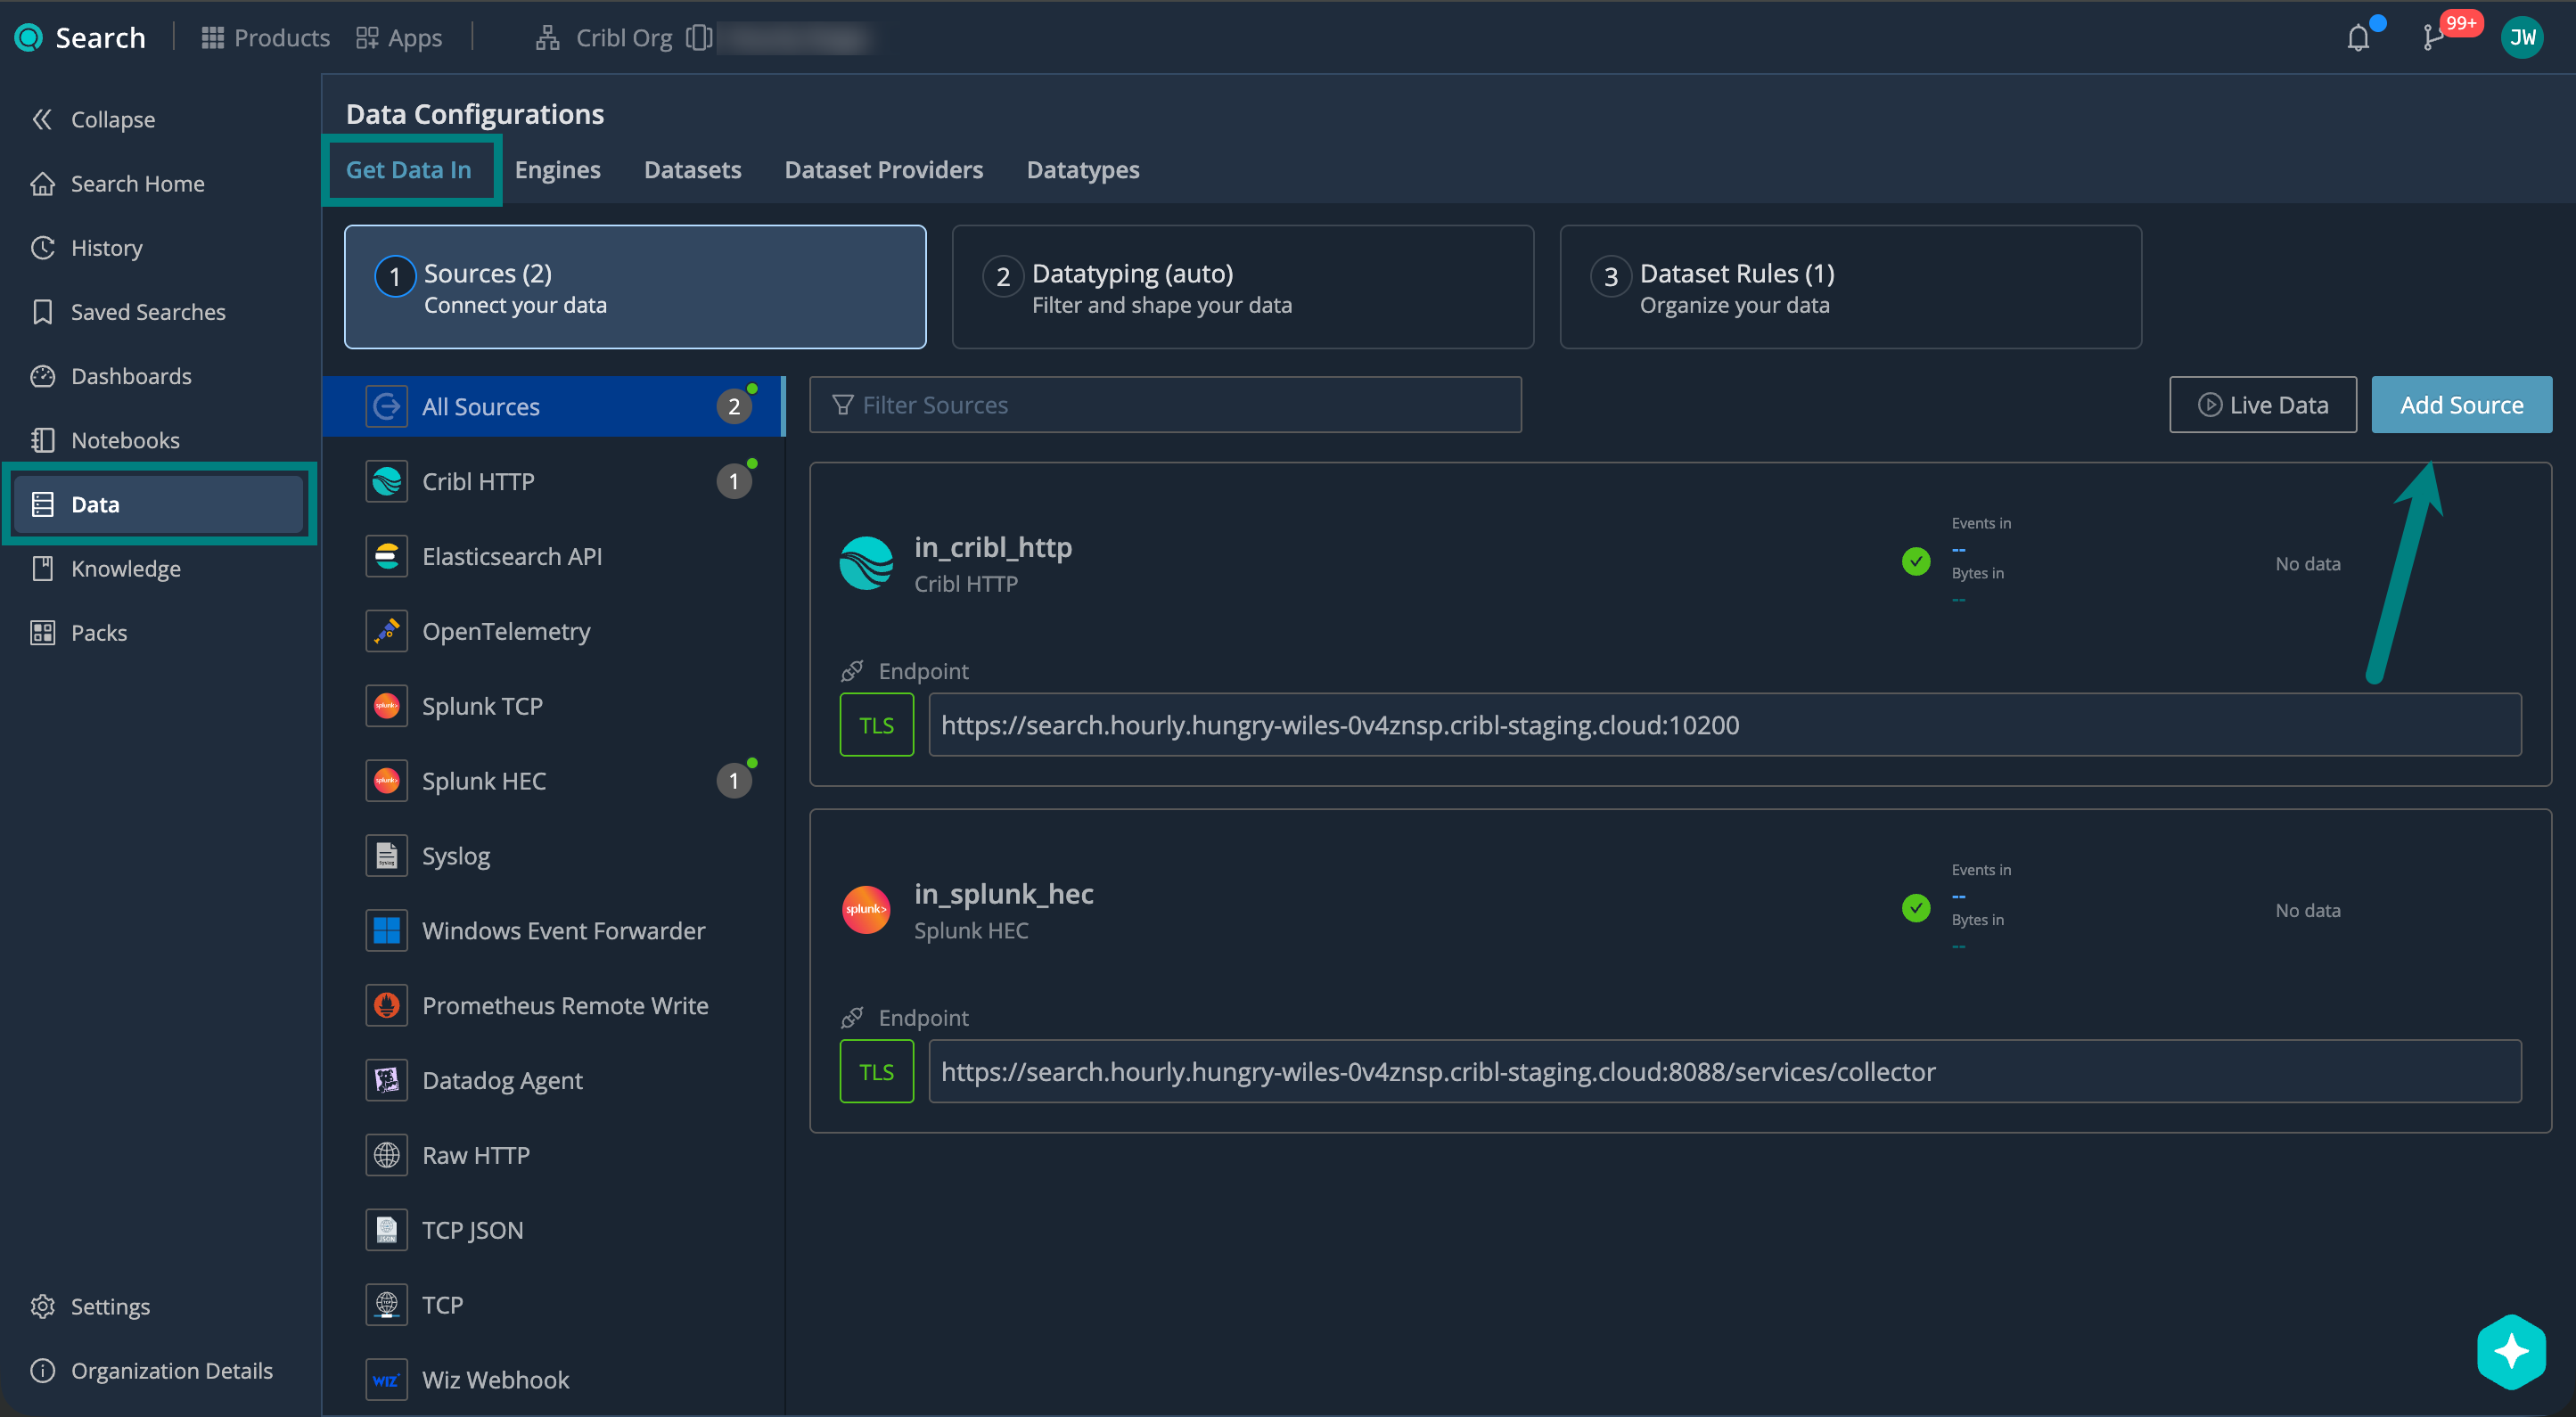
On the Cribl.Cloud top bar, select Products > Search > Data > Add Source > Splunk TCP.
Describe Your Source
Under General, configure:
| Setting | Description | Example |
|---|---|---|
| ID | Source ID, unique across your Cribl.Cloud Workspace. Use letters, numbers, underscores, hyphens. | splunk_tcp_prod |
| Description | Describe your Source so others know what it’s for. | Ingests TCP from prod Splunk |
| Address | Hostname (FQDN) that your Splunk forwarder connects to. You’ll need this to set up your Splunk forwarder. | search.main.foo-bar-abc123.cribl.cloud |
| Port | Network port to listen on. Keep the default unless it conflicts with another service. | 9997 (default) |
Set Up Authentication
Use authentication to make sure only authorized Splunk forwarders can send data to your Cribl Search Source.
Under Authentication, select Add Token. Add as many tokens as you need.
| Setting | Description | Example |
|---|---|---|
| Token | Authentication string you’ll need to set up your Splunk forwarder. Enter a token text, or select Generate for a random one. | 420 |
| Description | Describe which clients or environments use the token. | Prod UF |
Set Up Encryption
TLS encryption protects your data in transit between upstream Splunk forwarders and your Cribl Search Source. New Sources have TLS enabled by default, with TLS 1.2 as the minimum version.
Under Encrypt, you can review or adjust the Minimum TLS version you want to accept:
| TLS Version | When to Use |
|---|---|
| 1.3 | Provides the strongest security. Use when your clients support it. |
| 1.2 | The default. Use for broad client compatibility. |
| Older than 1.2 | Avoid if possible. These versions are no longer considered secure. |
Select Save to create the Source.
4. Set Up Datatyping
Configure Datatype rules to parse, filter, and normalize your data into structured fields. We call this process Datatyping.
On the Cribl.Cloud top bar, select Products > Search > Data > Datatyping (auto). Here, you can:
- Use Auto-Datatyping to parse your data automatically.
- Check for uncategorized data that didn’t match any Datatype rules.
- Handle the uncategorized data by adding custom Datatype rules.
See also:
- Datatypes in Cribl Search
- v2 Datatypes in Cribl Search
- List of Stock v2 Datatypes
- Add a Custom v2 Datatype
5. Set Up Dataset Rules
Configure Dataset rules to route the parsed events into your Search Datasets.
On the Cribl.Cloud top bar, select Products > Search > Data > Datasets: Organize Your Data, and see Organize Data with Dataset Rules for details.
6. Set Up Your Splunk Forwarder
Configure your upstream Splunk forwarder to send data to Cribl Search.
You’ll need these details from your Source configuration:
| Name | Example |
|---|---|
| Address | search.main.foo-bar-abc123.cribl.cloud |
| Port | 9997 (default) |
| Token | 420 |
To find these for an existing Source: On the Cribl.Cloud top bar, select Products > Search > Data > Sources, and select your Source.
Example: Splunk TCP > Cribl Search
Use this sample outputs.conf stanza, replacing
the example address (search.main.foo-bar-abc123.cribl.cloud), token, and port (if you changed the default 9997) with
your Source values.
[tcpout]
disabled = false
defaultGroup = cribl

[tcpout:cribl]
server = search.main.foo-bar-abc123.cribl.cloud:9997
sslVerifyServerCert = true
sslRootCAPath = $SPLUNK_HOME/etc/auth/cacert.pem
compressed = false
useSSL = true
sendCookedData = true
token = 4207. Start Sending Data and Verify
Start sending events from Splunk, and verify that they’re successfully flowing into Cribl Search.
On the Cribl.Cloud top bar, select Products > Search > Data > Live Data.
Here, check for your Splunk TCP Source. For details, see Live Data.
Next Steps
Now that your data is in Cribl Search, you can start using it. For example: