


These docs are for Cribl Stream 4.1 and are no longer actively maintained.
See the latest version (4.17).
Configuring Projects (Beta)
Projects define the data that the Project’s users can consume, and where that data can be written to. A Project associates specific Subscriptions with specific Destinations.
In this way, Projects function like a Route’s Output selection. They also provide deliberately high-level access control, encapsulating the inputs and outputs available to each Project’s users.
In the current release, users with the
project_userRole have access to all configured Projects.
Configuring a New Project
- From your Worker Group’s Manage submenu, select Projects.
- Select the Data Projects lower tab.
- Click Add Project to open the New Project modal shown below.
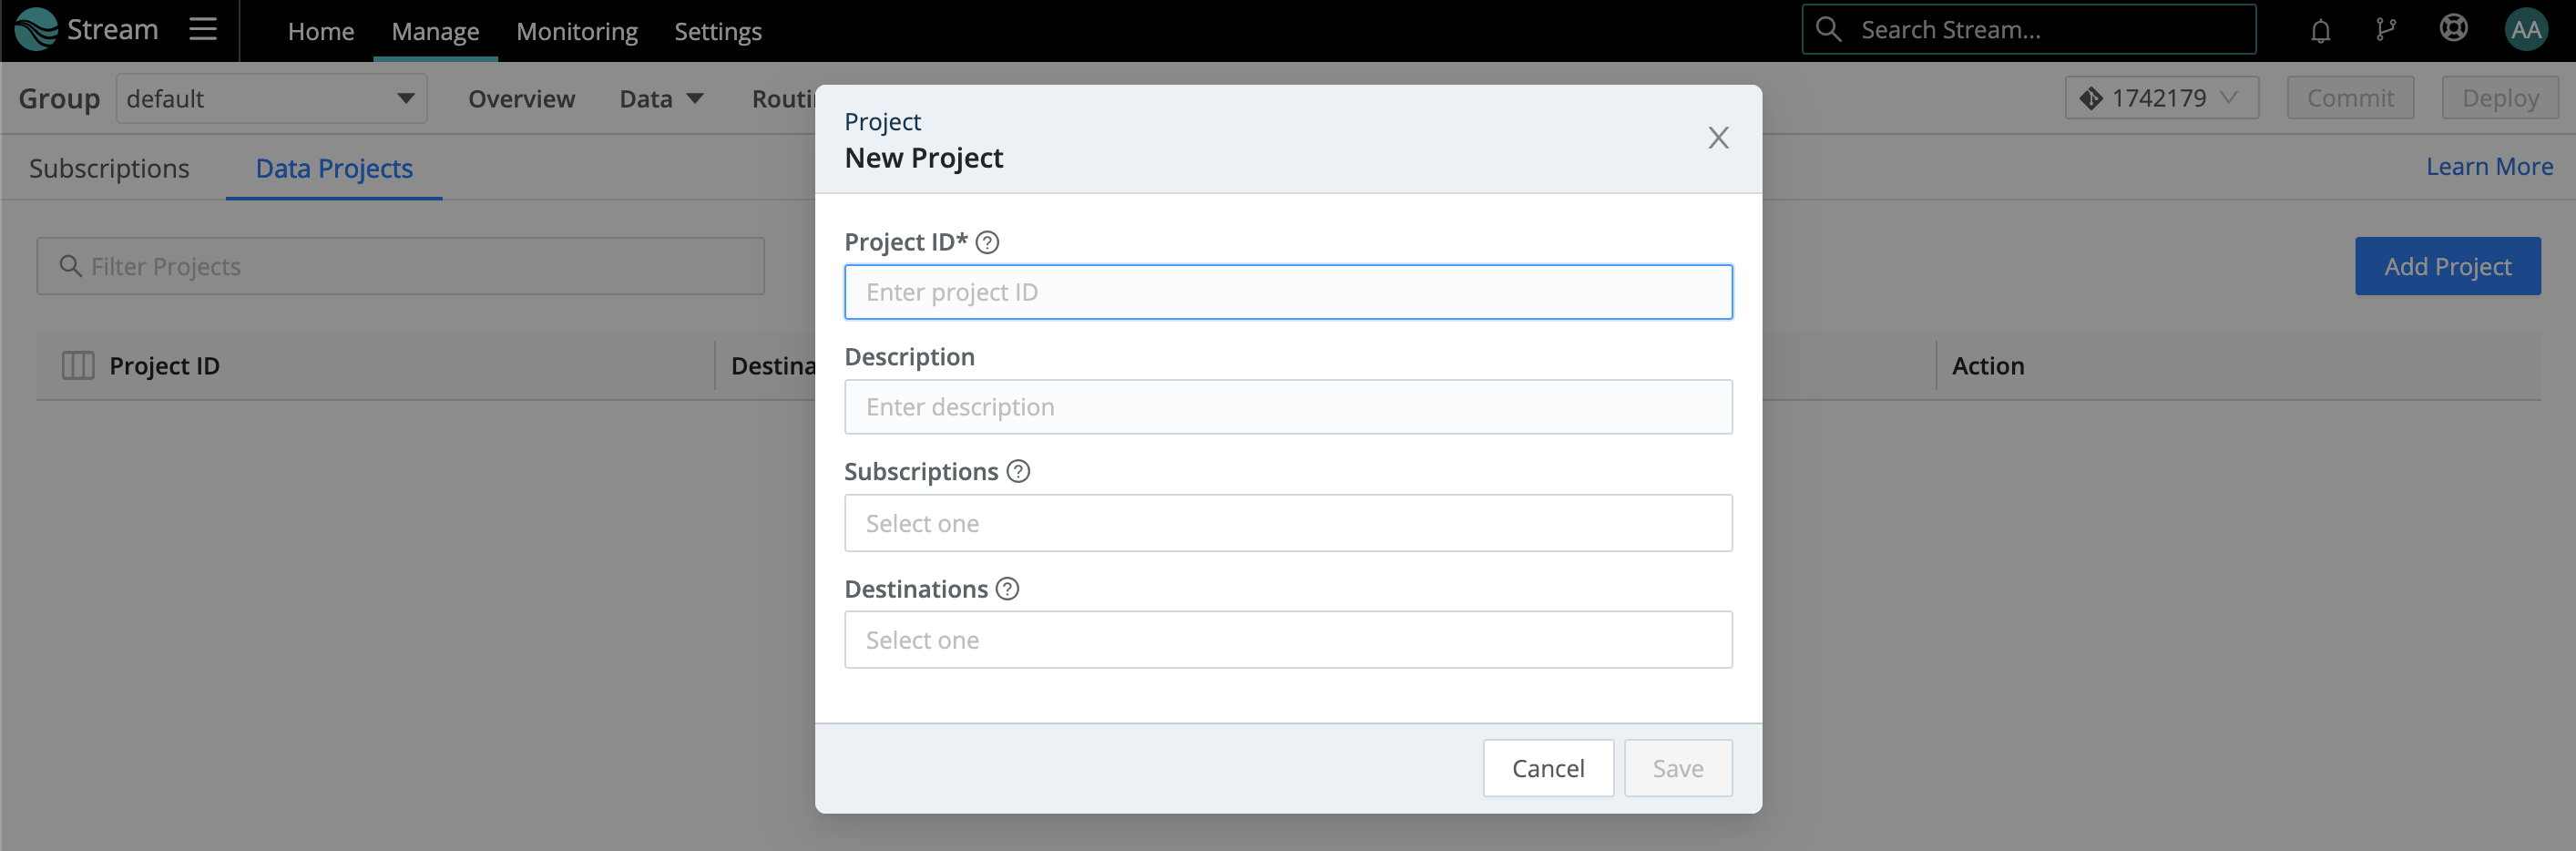
- Assign this Project a unique Project ID. (This can include letters, numbers,
_, and-. IDs are case-sensitive, so entering the same characters with different capitalization will create a separate ID.) - Optionally, add a Description of the Project’s purpose.
- Select one or more configured Subscriptions. (You can access only Subscriptions that are already configured.)
- Select one or more configured Destinations that will have access to this Project’s data. (You can access only Destinations that are already configured as QuickConnect Destinations.)
- Click Save to finish configuring your Project.
- Commit and deploy your changes.
Testing in QuickConnect
In the Projects table, note each Project’s View in QuickConnect link. Click this to connect a Project’s selected configured Subscriptions and Destinations, and to test your Project - all in the Project user’s graphical view.
As you configure and test your Project, beware of high ingestion rates that could overwhelm downstream receivers. To prevent dropped events, enable Persistent Queues on Destinations that support them.
To return to your admin’s configuration view, click the Projects submenu’s Subscriptions or Data Projects tab.
Editing a Project
To update an existing Project, click it in the Projects table. This will open its configuration in a modal similar to the New Project modal covered above.