


These docs are for Cribl Stream 4.2 and are no longer actively maintained.
See the latest version (4.17).
Configuring Projects
Projects define the data that the Project’s users can consume, where that data can be sent, and who has access to the Project. A Project associates specific Subscriptions with specific Destinations. For fine-grained access control, you can share each Project with specific Members.
By connecting incoming data sources (Subscriptions) to specific Destinations, Projects function like a Route’s Output selection. We expand on this similarity in Subscriptions and Routes.
Accessing Projects
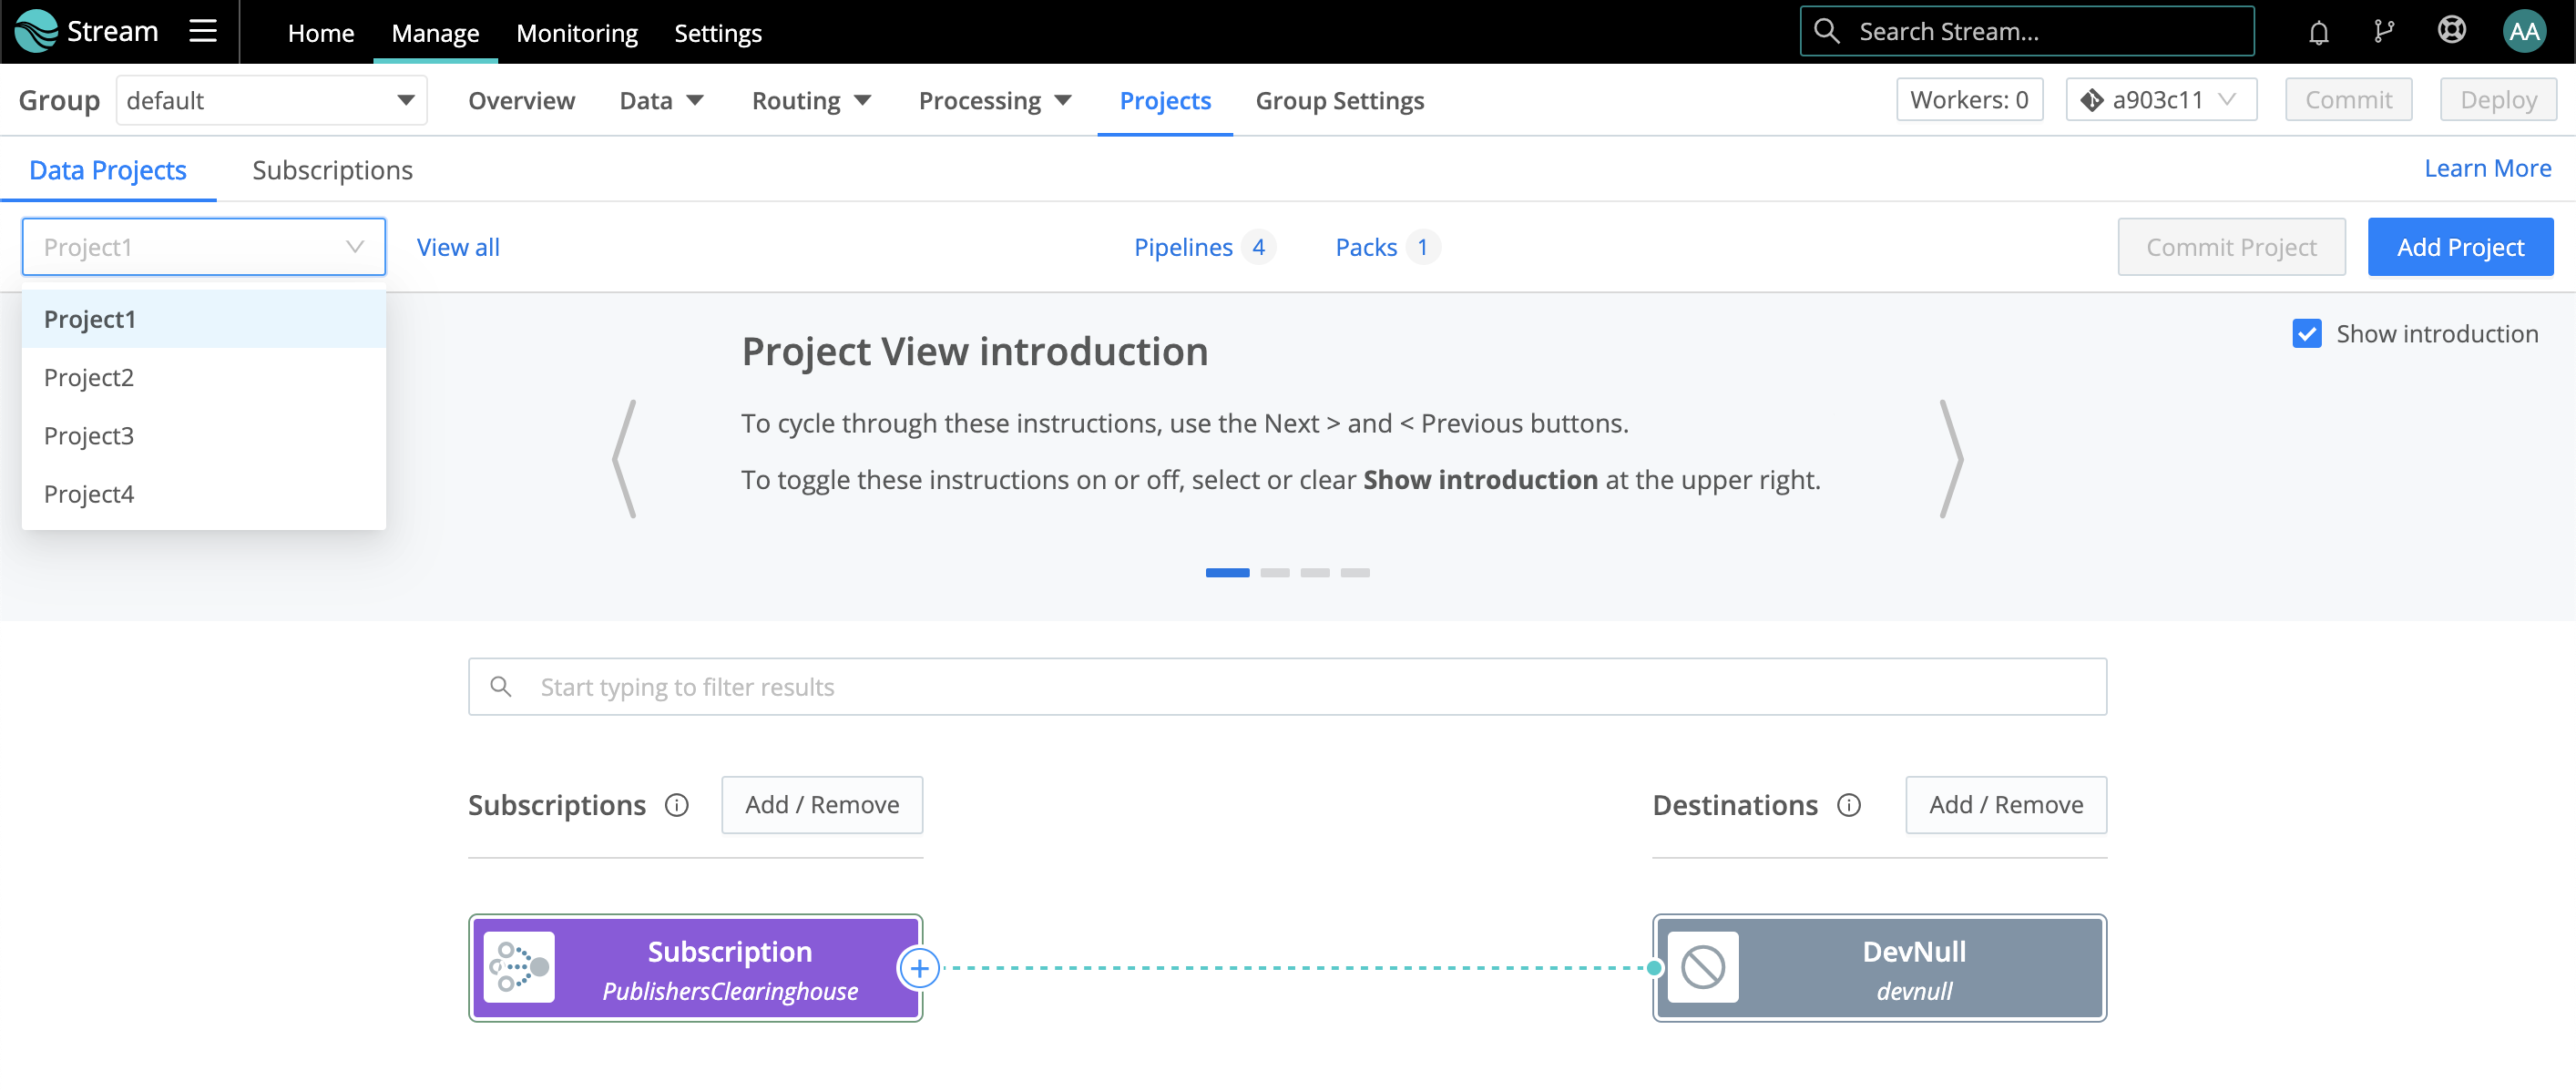
From your Worker Group’s Manage submenu, select Projects to open the default Data Projects lower tab.
This is the “Project view,” an expanded version of the UI in which Project editors will manage connections among the resources you define here. From left to right, the options in this administrator’s view are:
- Projects drop-down list: To bring a different Project into the Project view, select it here.
- View all link: Click to open the All Projects modal, where you can configure and share existing Projects.
- Pipelines link: Click to open a modal where you can manage Pipelines that are scoped to this Project.
- Packs link: Works the same way as the Pipelines link. The modal will show only Packs that are part of this Project. For Project editors, Packs will be read-only resources - Project editors can insert or remove Packs, but not modify them.
- Commit Project button: Commit changes from this Project to Git.
- Add Project button: Creates a new Project. Covered just below.
Configuring a New Project
- From the Project view shown above, click Add Project to open the Add New Project modal shown below.
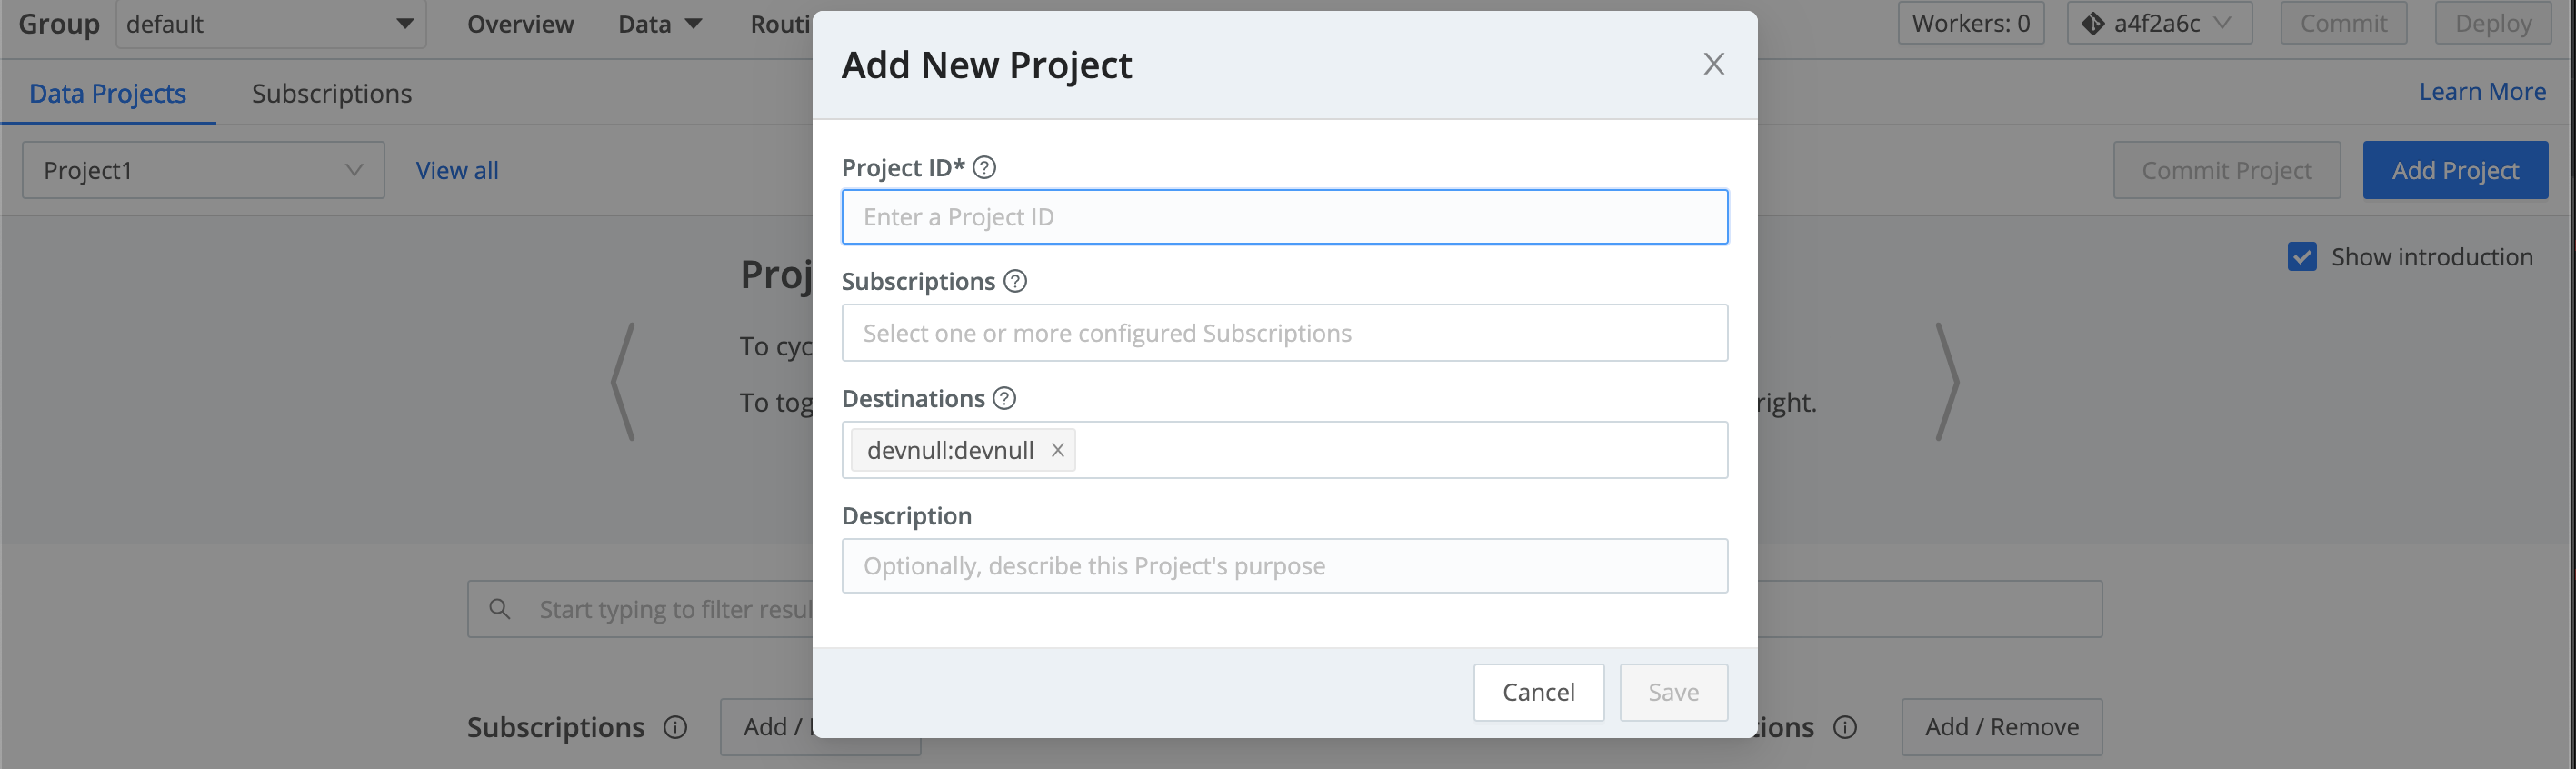
- Assign this Project a unique Project ID. (This can include letters, numbers,
_, and-. IDs are case-sensitive, so entering the same characters with different capitalization will create a separate ID.) - Select one or more configured Subscriptions. (You can access only Subscriptions that are already configured in this Project. But you can reopen this modal later to add newly configured Subscriptions. Also, the Subscriptions UI enables you to add Subscriptions to Projects.)
- Select one or more configured Destinations that will have access to this Project’s data. (You can access only Destinations that are already configured in this Project - but you can configure and add more Destinations in the next section.)
- Optionally, add a Description of the Project’s purpose.
- Click Save to finish configuring your Project.
- Commit and deploy your changes.
To view Live Data on your configured Destination, you must Commit and Deploy your changes.
Testing a Project (Managing Data Flow)
After you return to the Project view, make sure your desired Project has focus in the upper-left drop-down list. You can now use the Project view’s visual UI to expand the Project and enable its data flow. The options here include:
- Connect the Project’s already configured Subscriptions and Destinations, optionally adding a Pipeline or Pack to each connection.
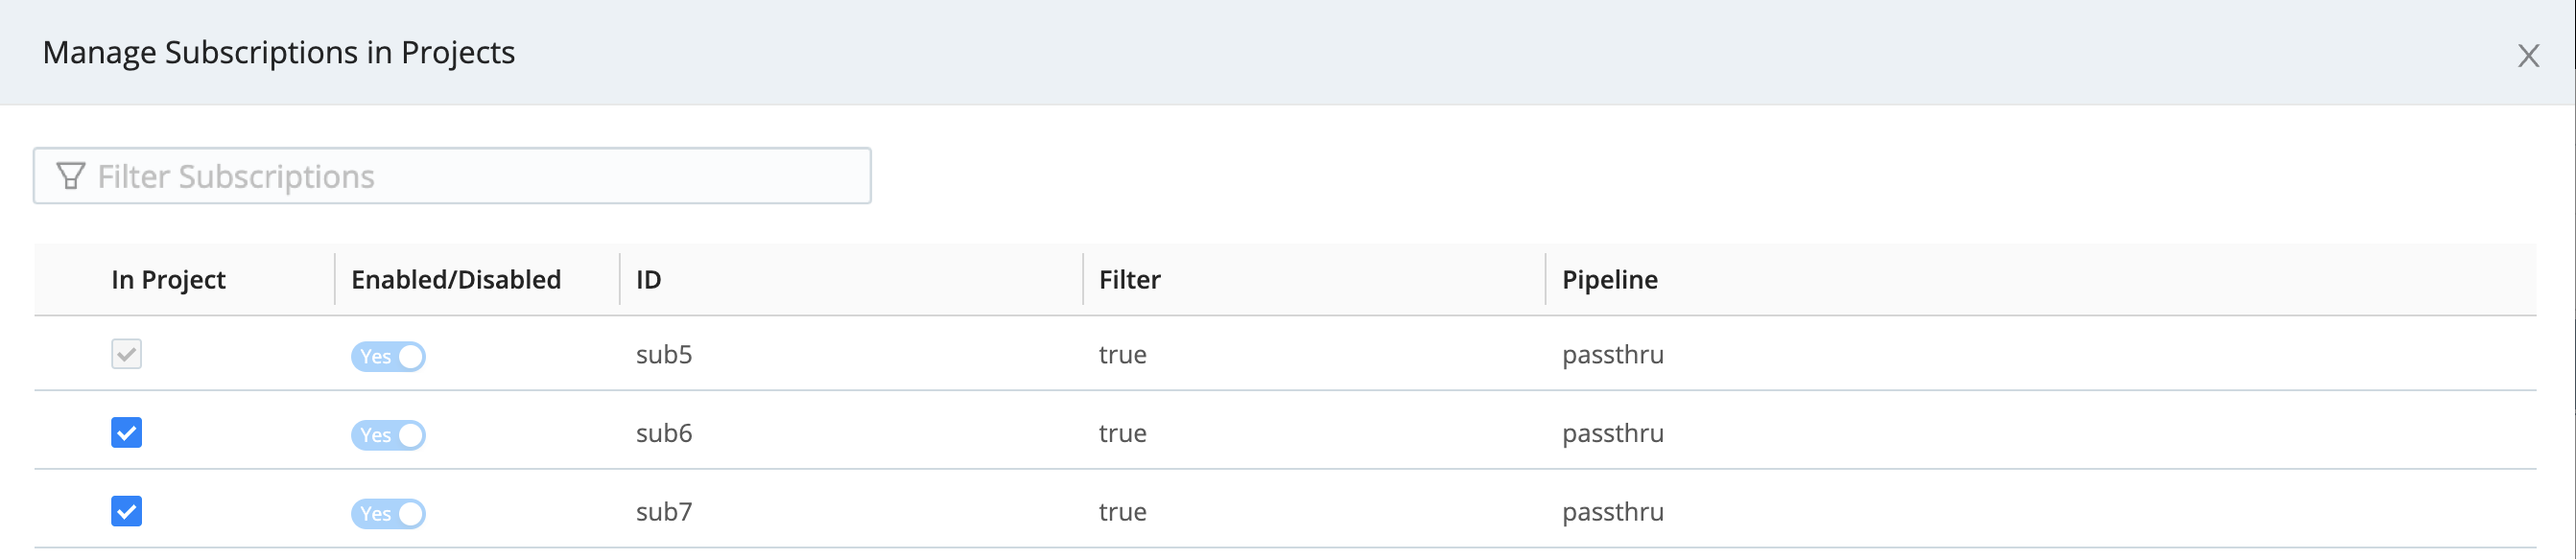
- Click Subscriptions > Add / Remove to open a drawer where you can expose any Subscription you’ve already configured in the Project, remove Subscriptions from the Project view, or add new Subscriptions.
- Click Destinations > Add / Remove to open a drawer where you can expose and configure any Destination type available in your Cribl Stream deployment. (Any Destination that you add here will automatically be added to the Project’s configuration modal when you next reopen it.)

As you configure and test your Project, beware of high ingestion rates that could overwhelm downstream receivers. To prevent dropped events, enable Persistent Queues on Destinations that support them.
Enabling Pipelines and Packs
Each Project that you configure opens with a basic set of Pipelines and one default Pack. To manage these, click the upper Pipelines or Packs link, respectively. Each opens a modal similar to Cribl Stream’s standard Pipelines or Packs UI, with access to standard Sample Data and Preview options on the right.
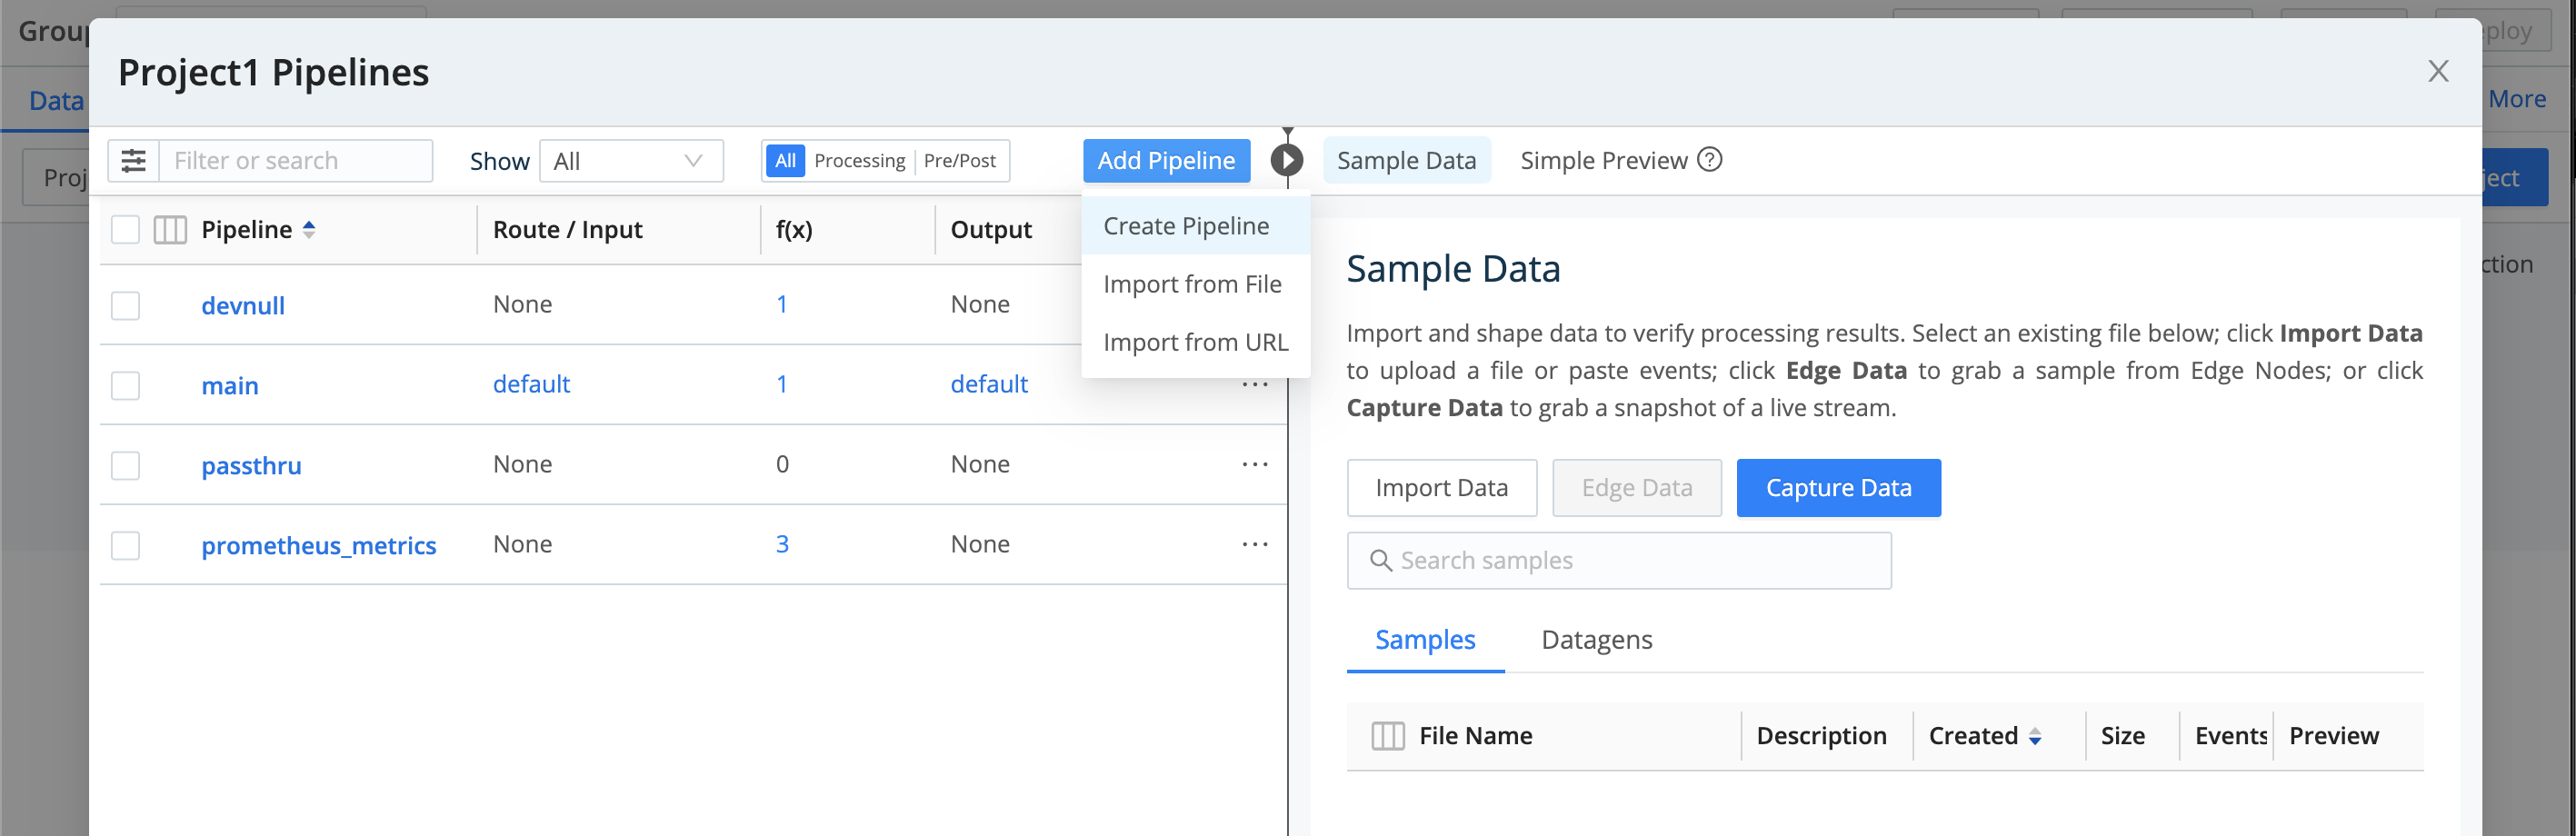
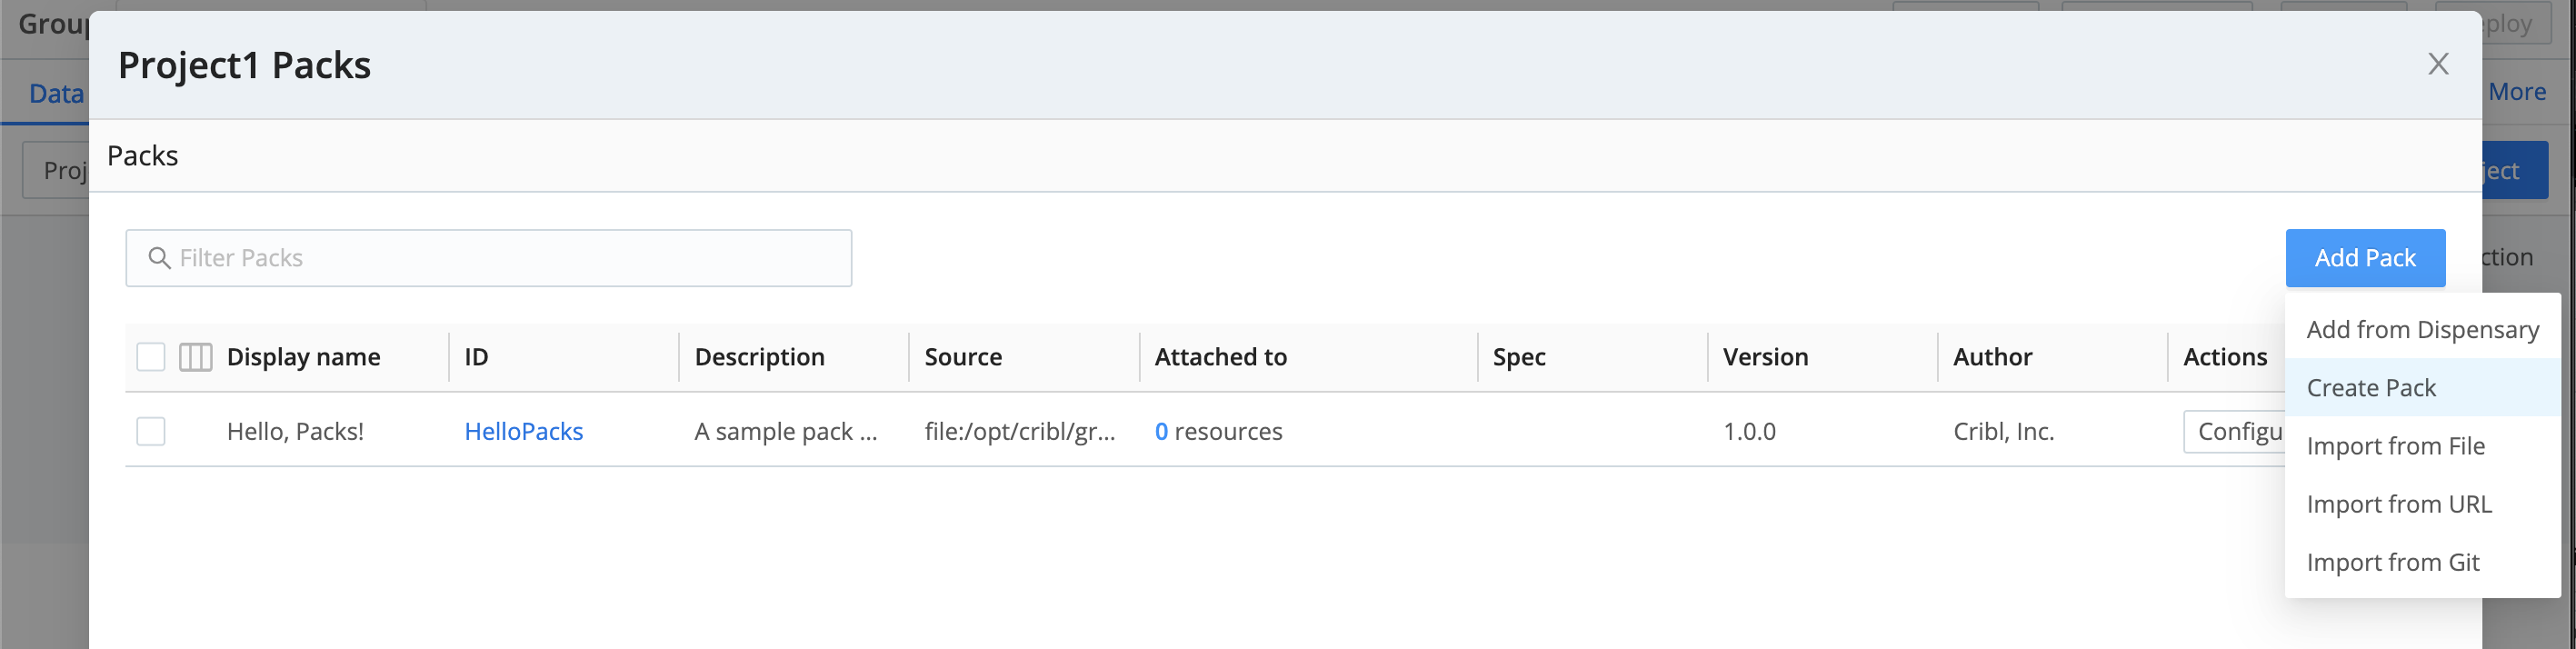
To offer Project editors additional processing resources to insert on Subscription/Destination connections, click the modal’s Add Pipeline or Add Packs button. You can then enable new Pipelines and Packs in the Project, with these constraints:
- You can create a new Pipeline or Pack here. It will be available only in the current Project.
- You can import an existing Pipeline or Pack. Any modifications that you make here will similarly be scoped to the current Project.
- To import an existing Pipeline from your Cribl Stream deployment, you must export it as JSON, then select the Import from Pipeline drop-down option shown above. (You can also Import from URL.)
- You can import Packs from an exported JSON file, a URL, or the Dispensary or Git options shown on the drop-down below.
Editing a Project
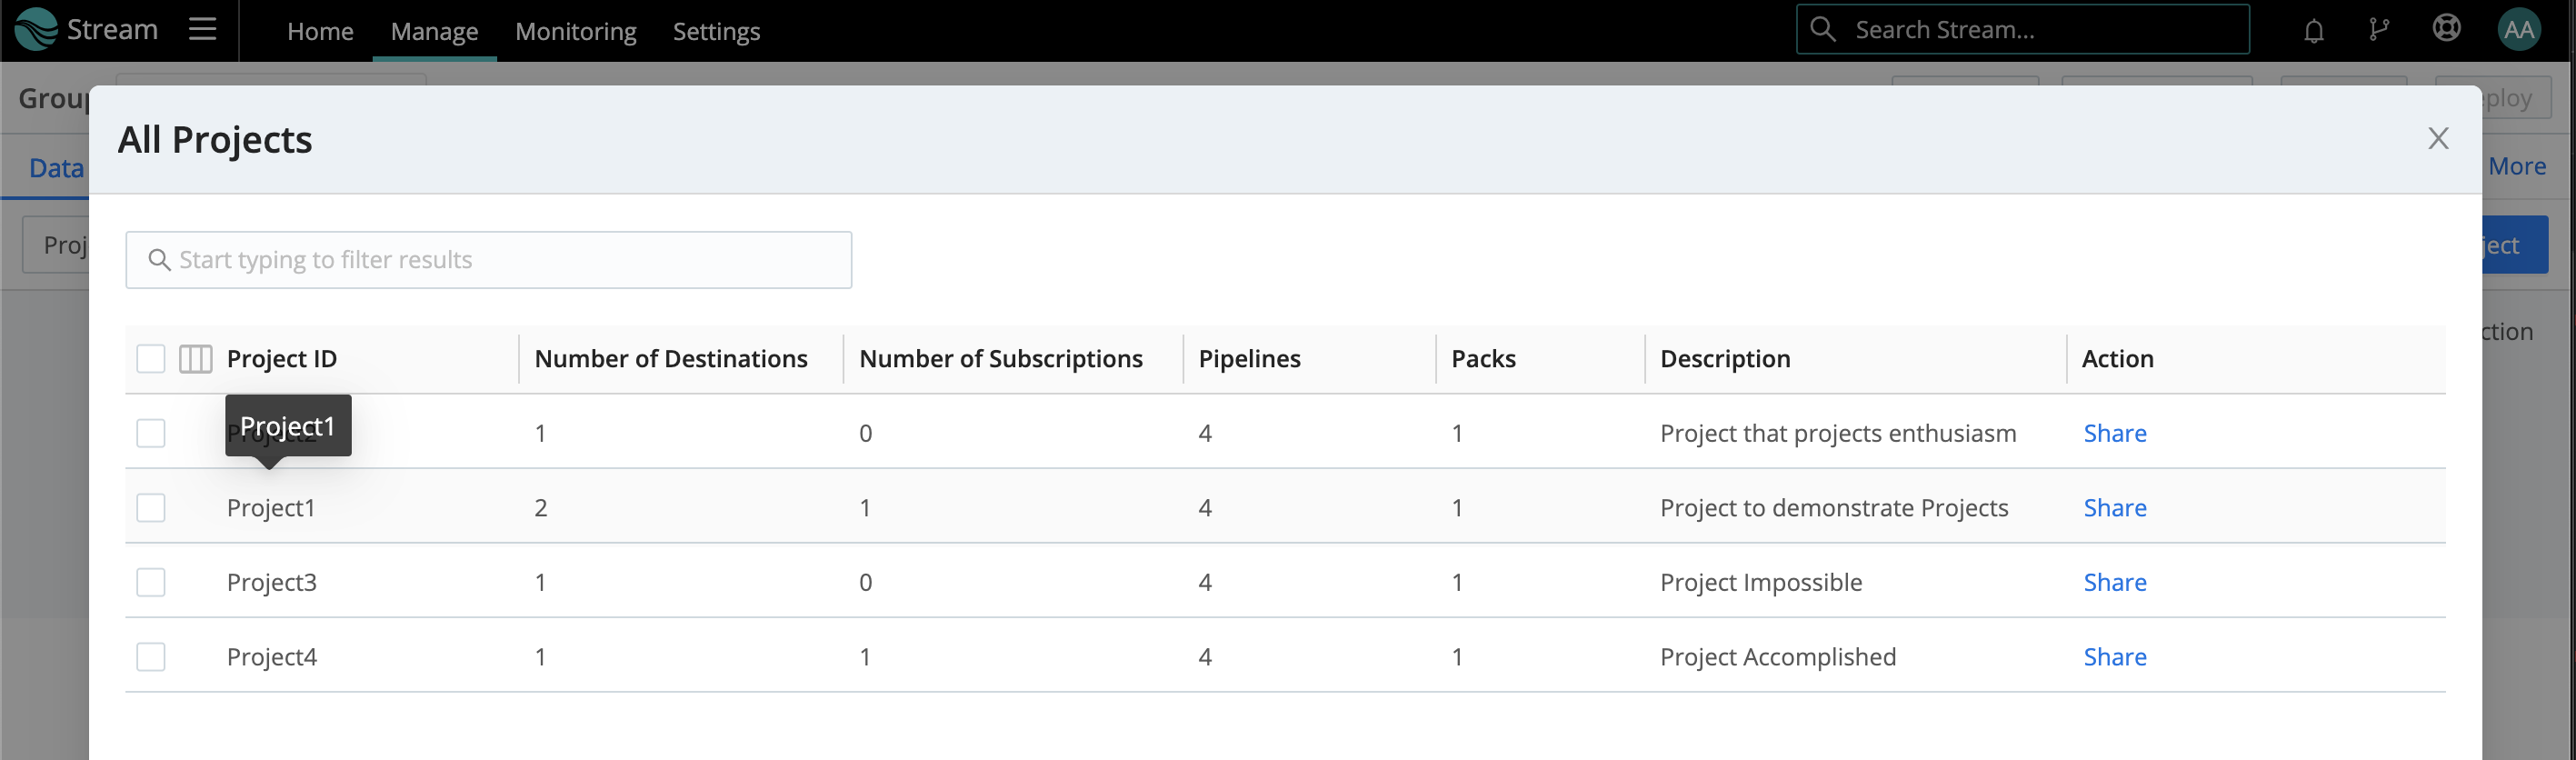
To update an existing Project, click the Project view’s upper-left View all link. From the resulting All Projects modal, click the Project’s row to reopen its configuration in a modal similar to the Add New Project modal covered above.
You can also click any row’s Share link to open a drawer in which to manage users’ access to the Project.
Accessing Project Metrics
You can access the following metrics on your Projects:
- Events and bytes in/out of Subscriptions.
- Bytes in/out of Pipelines, Packs, and Destinations.
- Events in/out/dropped through Pipelines, Packs, and Destinations;
To tap these metrics, enable Cribl Stream’s internal CriblMetrics Source. This Source’s defaults are different for Cribl.Cloud versus on-prem deployments.
Cribl.Cloud Leaders and Groups
For Cribl.Cloud Leaders, and Worker Groups of Cribl-managed Cloud Workers, Projects’ metrics are always available to the CriblMetrics Source. This availability is not configurable.
On-Prem Leaders and Groups
For on-prem Leaders, on-prem Worker Groups, and hybrid Worker Groups, Projects’ metrics are disabled by default. (As with other on-prem exclusions, we provide this default to optimize performance.) However, you can easily make these metrics available to the CriblMetrics Source.
See Controlling Metrics for general instructions on modifying defaults at the Leader, Worker Group, or single-instance level. From the Disable field metrics list, remove the project metric. Then save, commit, and deploy your changes.