These docs are for Cribl Stream 4.4 and are no longer actively maintained.
See the latest version (4.17).
Wiz API Collection
This topic covers how to configure Cribl Stream REST Collectors and Event Breakers to gather data from the Wiz cloud security platform. The REST Collectors will communicate with APIs that your organization’s Wiz portal exposes. You’ll create and configure four REST Collectors, one for each of these Wiz APIs: Audit Logs, Configuration Findings (sometimes called Cloud Configuration), Issues, and Vulnerabilities.
Instead of configuring REST Collectors setting-by-setting, you will first download them from Cribl’s Collector Templates repository and then import them into Cribl Stream using the Manage as JSON feature, replacing placeholders in the configuration with values from your Wiz portal. This approach is faster and less error-prone than clicking your way through the relevant UIs, especially since the configurations required to interact with the Wiz APIs are quite complicated.
Prerequisites From Wiz
This topic assumes that when you became a Wiz customer, Wiz sent the following items:
| Item | Value |
|---|---|
| Client ID | 53-character string |
| Client secret | 64-character string |
| Auth URL | https://auth.app.wiz.io/oauth/token or similar |
| API endpoint | https://api.us17.app.wiz.io/graphql or similar |
These items should be the same across all Wiz APIs. The Wiz platform differentiates requests to one API from requests to another by inspecting the request body. (The configurations supplied later in this topic include an appropriate request body for each API.)
Note the values that Wiz sent you, and keep them handy for when you configure the REST Collectors later on.
Downloading the Collectors
Click the links to open the following files from Cribl’s Collector Templates repository, and download the files to a convenient location on your local system.
- Audit Logs Collector:
collector-wiz-auditlogentries.json - Configuration Findings Collector:
collector-wiz-configurationfindings.json - Issues Collector:
collector-wiz-issues.json - Vulnerabilities Collector:
collector-wiz-vulnerabilities.json
Configuring the Event Breaker
Although you will create four REST Collectors, you only need to add a single Event Breaker whose ruleset contains four rules - one for each Wiz API - enabling it to break events for all four REST Collectors.
The Event Breaker strips headers from events, leaving only the records of interest; and, it captures timestamps in the proper way.
- Navigate to Manage > Processing > Knowledge > Event Breaker Rules.
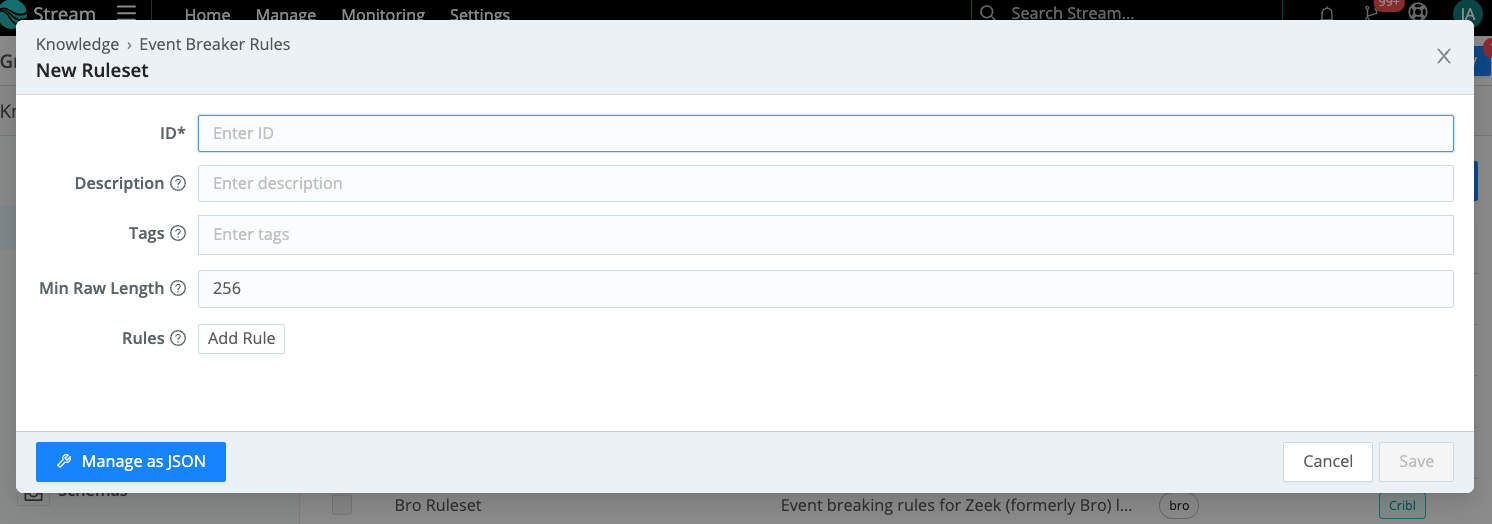
- Click Add Ruleset.
- Click Manage as JSON at lower left to open the JSON editor.
- Click this link to open the Event Breaker file (
breaker.json) in the Collector Templates repository, then click the Copy icon to copy the Event Breaker. - Back in the Cribl Stream UI, paste the Event Breaker into the editor (replacing the default object that the editor opens with).
- Click Save.
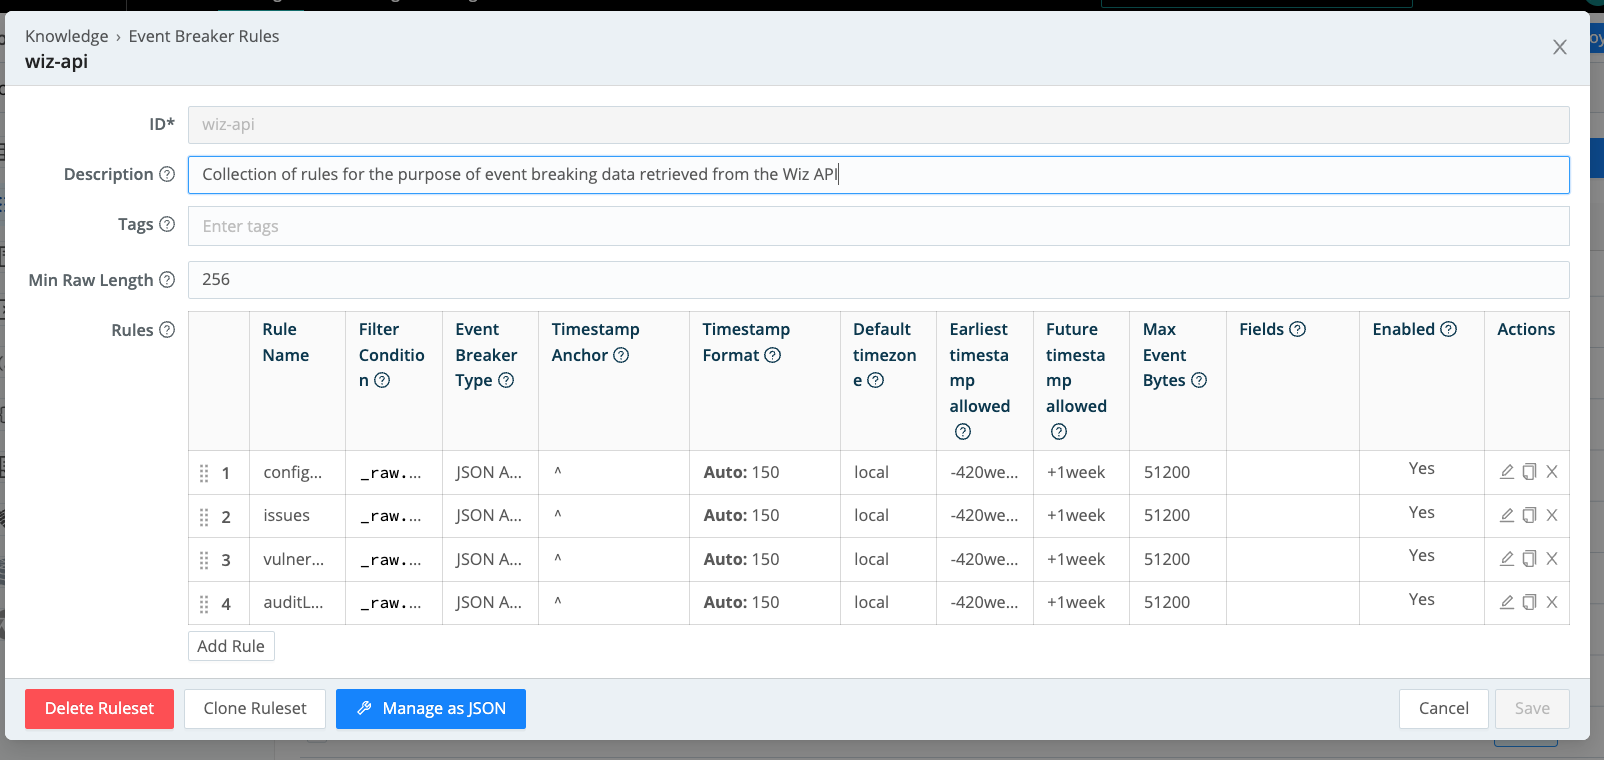
When you have finished adding the Event Breaker, you should see that it contains four rules:
Configuring the REST Collectors
You’ll need to complete the procedure in this section four times. Each time, you’ll create one REST Collector to handle a particular Wiz API.
To learn more about REST Collectors, see our REST/API Endpoint and Scheduling and Running topics.
From the top nav of a Cribl Stream instance or Group, select Data > Sources, then select Collectors > REST from the Data Sources page’s tiles or the Sources left nav. Click Add Collector to open the REST > New Collector modal.
- Click Manage as JSON to open the configuration editor.
- Click Import and select the desired Collector from among the four you downloaded above:
- Audit Logs Collector (
collector-wiz-auditlogentries.json) - Configuration Findings Collector (
collector-wiz-configurationfindings.json) - Issues Collector (
collector-wiz-issues.json) - Vulnerabilities Collector (
collector-wiz-vulnerabilities.json)
- Audit Logs Collector (
- In the Replace Placeholder Values modal, enter the values you noted earlier into the appropriate fields:
- For
loginUrl, enter the value of Auth URL. - For
clientSecretParamValue, enter the value of Client secret. - In the
authRequestParamsarray, find the object wherenamehas the valueclient_id, and replace the value ofvaluewith the value of Client ID. - For
collectUrl, enter the value of API endpoint.
- For
- Click Replace Values to close the modal.
- Click OK to finish configuring the Collector.
Once you’ve created all four REST Collectors, you’ll be ready to start collecting from the Wiz APIs.
Discovering and Collecting
You can perform the procedures in this section with any of the four REST Collectors you’ve created. To configure time ranges, you’ll use Earliest and Latest values.
- If you enter Earliest and Latest values, Cribl Stream will pass them into the API query.
- If you leave these fields blank, Cribl Stream will query the API for the 24 hours before the job is scheduled to run.
We’ll start with the Discovery run:
- On the Manage REST Collectors page, click Run beside your new Collector.
- In the resulting Run Collector modal, select Mode > Discovery.
- Configure a Time range, if desired.
- Click Run to retrieve Discovery results.
After inspecting these results, launch the Collector run:
- Back on the Manage REST Collectors page, again click Run beside your new Collector.
- In the resulting Run Collector modal, this time select Mode > Full Run.
- Configure a Time range, if desired.
- Click Run.
Automating your Collector Runs
- On the Manage REST Collectors page, click Schedule in the Actions column for your new Collector. The Run Collector modal will open.
- Toggle Enable on and configure the scheduling options as desired.
- Click Save.
Beware of Wiz API Results Limits
To avoid degrading the performance of your Wiz environment, follow the principles described in this section.
- Do not exceed three API requests per second. Cribl Stream is generally not used in a manner that would approach this limit but if you do, the Wiz API will likely respond with
HTTP 429 Too Many Requesterrors. - Use filters in the query string to ensure that your queries pull only the relevant information.
- If you choose to capture historical data during your initial integration, keep each API’s results limits in mind when running ad-hoc API collections.
- For ongoing collection, use incremental collections. To do this, schedule the REST collector to run over a timeframe that suits the task. For example, the Wiz Vulnerabilities Report API is for incremental use only and is best scheduled to run daily, pulling results only from the previous day.
The table below shows the results limits for each Wiz API.
| API | Limit (results) |
|---|---|
| Audit Logs | 10,000 |
| Cloud Configuration | 10,000 |
| Issues | no limit |
| Vulnerability | no limit |
Once your query hits the limit of results for a given Wiz API, the API will send no further results.
Troubleshooting
The REST Collector treats all non-200 responses from configured URL endpoints as errors. On Discover, Preview, and most Collect jobs, it interprets these as fatal errors. On Collect jobs, a few exceptions are treated as non-fatal:
- Where a Collect job launches multiple tasks, and only a subset of those tasks fail, Cribl Stream places the job in failed status, but treats the error as non-fatal. (Note that Cribl Stream does not retry the failed tasks.)
- Where a Collect job receives a 3xx redirection error code, it follows the error’s treatment by the underlying library, and does not necessarily treat the error as fatal.
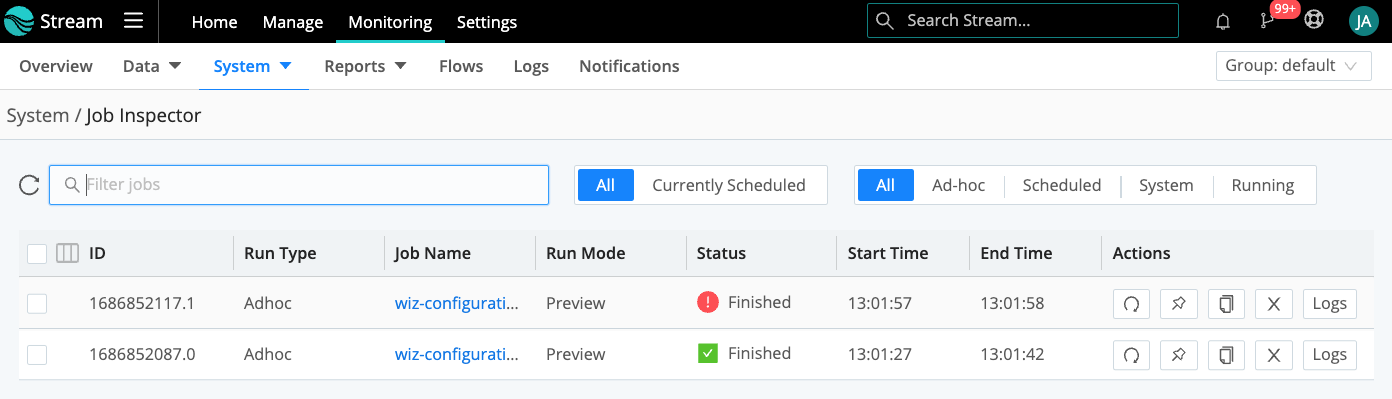
Detailed logging is available for each Collector run to help troubleshoot issues or explore the results of each collector run. To view the jobs, click Monitoring->System->Job Inspector as shown below.