


These docs are for Cribl Stream 4.9 and are no longer actively maintained.
See the latest version (4.17).
Office 365 Services Source
Cribl Stream supports receiving data from the Microsoft Graph service communications API. This facilitates analyzing the status and history of service incidents on multiple Microsoft cloud services, along with associated incident and Message Center communications. For details, see Microsoft’s Overview of the Graph API.
Type: Pull | TLS Support: YES | Event Breaker Support: YES
TLS is enabled via the HTTPS protocol on this Source’s underlying REST API.
Microsoft has retired its prior Office 365 Service Communications API, forcing a switch to the Graph API mentioned above. Due to a limitation in this new API, Cribl Stream (LogStream) 3.3 and above can no longer collect the Historical Status content type that was available in this Source through LogStream 3.2.2.
For more about the Microsoft Graph API, see our Microsoft Graph API Collection guide.
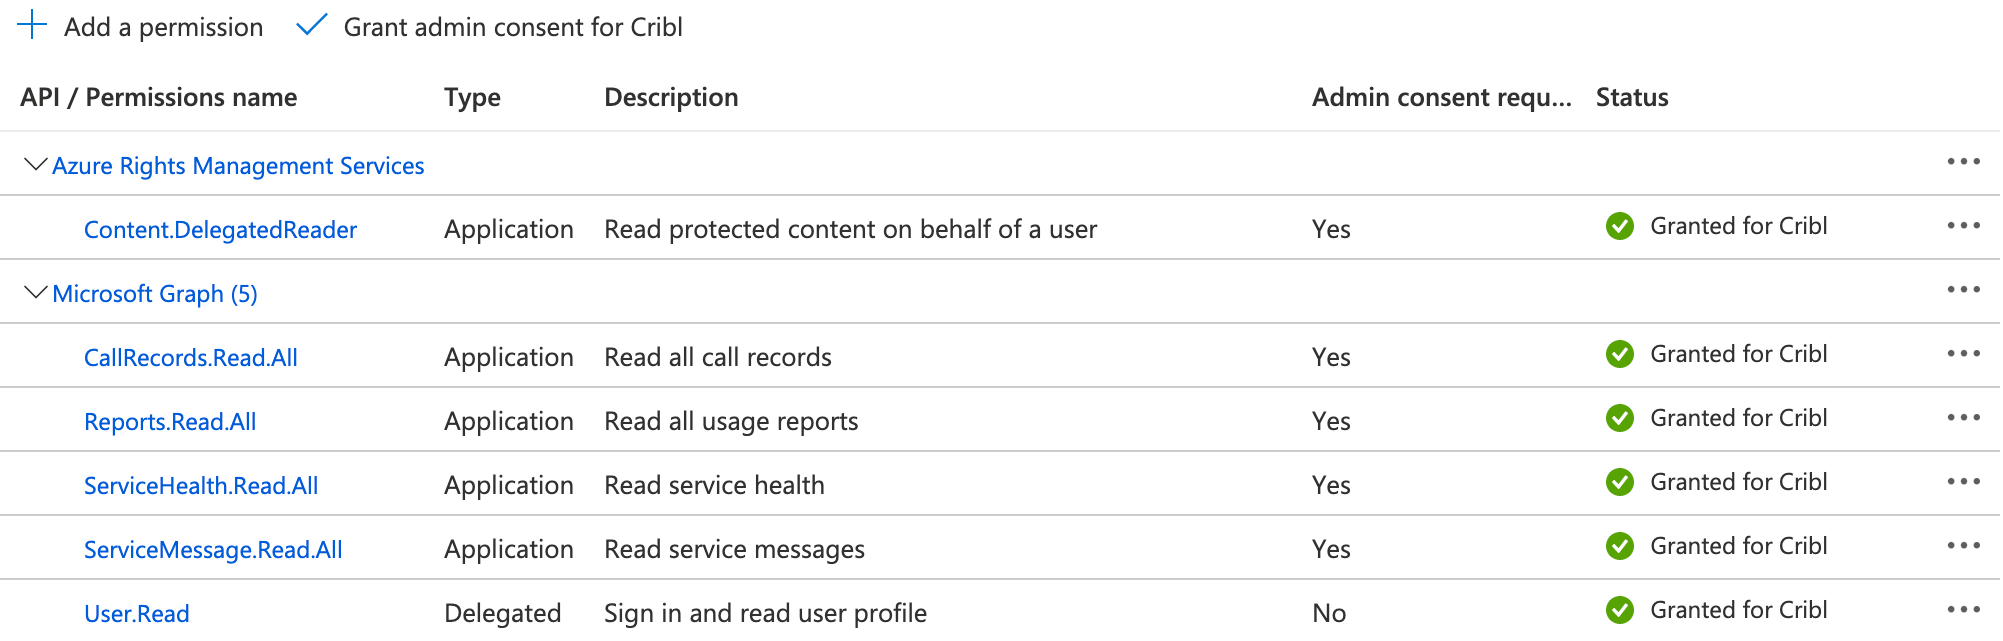
Microsoft Entra ID Permissions
In Microsoft Entra ID (formerly Azure Active Directory), the application representing your Cribl Stream instance must be granted the following permissions to pull data. (The permission Type for both must be Application - Delegated is not sufficient:)
ServiceHealth.Read.AllServiceMessage.Read.All
Configure Cribl Stream to Receive Data from the Service API
- On the top bar, select Products, and then select Cribl Stream. Under Worker Groups, select a Worker Group. Next, you have two options:
- To configure via QuickConnect, navigate to Routing > QuickConnect. Select Add Source and select the Source you want from the list, choosing either Select Existing or Add New.
- To configure via the Routes, select Data > Sources. Select the Source you want. Next, select Add Source.
- In the New Source modal, configure the following under General Settings:
- Input ID: Enter a unique name to identify this Office 365 Services definition. If you clone this Source, Cribl Stream will add
-CLONEto the original Input ID. - Description: Optionally, enter a description.
- Tenant ID: Enter the Office 365 Azure tenant ID.
- App ID: Enter the Office 365 Azure application ID.
- Input ID: Enter a unique name to identify this Office 365 Services definition. If you clone this Source, Cribl Stream will add
- Under Authentication, select the Authentication method from the dropdown:
- Manual: This default option provides a Client secret field, where you directly enter the required Office 365 Azure client secret.
- Secret: This option instead exposes a Client secret (text secret) drop-down, from which you select a stored text secret to authenticate with. Click Create to configure a new secret.
- Next, you can configure the following Optional Settings:
- Subscription Plan: See Subscription Plan below.
- Content Types: See the Content Types section below.
- Tags: Optionally, add tags that you can use to filter and group Sources in Cribl Stream’s UI. These tags aren’t added to processed events. Use a tab or hard return between (arbitrary) tag names.
- Optionally, you can adjust the Processing, Retries, and Advanced settings, or Connected Destinations outlined in the sections below.
- Select Save, then Commit & Deploy.
Subscription Plan
Select the Office 365 subscription plan for your organization. Options include:
- Office 365 Enterprise
- Office 365 GCC
- Office 365 GCC High
- Office 365 DoD
Content Types
Here, you can configure polling separately for the following types of data from the Office 365 Service Communications API:
- Current Status: Get a real-time view of current and ongoing service incidents.
- Messages: Find incident and Message Center communications.
As of this revision, this Microsoft API provides data for Office 365, Yammer, Dynamics CRM, and Microsoft Intune cloud services. For each of these content types, this section provides the following controls:
Enabled: Toggle this to Yes for each service that you want to poll.
Interval: Optionally, override the default polling interval. See About Polling Intervals below.
Log level: Set the verbosity level to one of debug, info (the default), warn, or error.
About Polling Intervals
To poll the Office 365 Service Communications API, Cribl Stream uses the Interval field’s value to establish the search date range and the cron schedule, for example:
*/${interval} * * * *
Therefore, intervals set in minutes - those for Current Status - must divide evenly into 60 minutes to create a predictable schedule. Dividing 60 by intervals like 1, 2, 3, 4, 5, 6, 10, 12, 15, 20, or 60 itself yields an integer, so you can enter any of these values.
Cribl Stream will reject intervals like 23, 42, or 45, or 75 - which would yield non-integer results, meaning unpredictable schedules.
Processing Settings
Fields
In this section, you can add Fields to each event, using Eval-like functionality.
Name: Field name.
Value: JavaScript expression to compute field’s value, enclosed in quotes or backticks. (Can evaluate to a constant.)
Pre-Processing
In this section’s Pipeline drop-down list, you can select a single existing Pipeline to process data from this input before the data is sent through the Routes.
Retries
Retry type: The algorithm to use when performing HTTP retries. Options include Backoff (the default), Static, and Disabled.
Initial retry interval (ms): Time interval between failed request and first retry (kickoff). Maximum allowed value is 20,000 ms (1/3 minute). A value of 0 means retry immediately until reaching the retry limit in Max retries.
Max retries: Maximum number of times to retry a failed HTTP request. Defaults to 5. Maximum: 20. A value of 0 means don’t retry at all.
Backoff multiplier: Base for exponential backoff. A value of 2 (default) means that Cribl Stream will retry after 2 seconds, then 4 seconds, then 8 seconds, etc.
Retry HTTP codes: List of HTTP codes that trigger a retry. Leave empty to use the defaults (429 and 503). Cribl Stream does not retry codes in the 200 series.
Honor Retry-After header: When toggled to Yes (the default) and the retry-after header is present, Cribl Stream honors any retry-after header that specifies a delay, up to a maximum of 20 seconds. Cribl Stream always ignores retry-after headers that specify a delay longer than 20 seconds.
- Cribl Stream will log a warning message with the delay value retrieved from the
retry-afterheader (converted to ms). - When toggled to
No, Cribl Stream ignores allretry-afterheaders.
Retry Connection Timeout: Toggle to Yes to automatically retry a single connection attempt after a timeout (ETIMEDOUT) to ensure data continuity.
Retry Connection Reset: Toggle to Yes to automatically retry a connection after a peer reset (ECONNRESET) to maintain data flow.
Advanced Settings
Request timeout (secs): The maximum time period for an HTTP request to complete before Cribl Stream treats it as timed out. Defaults to 300 (i.e., 5 minutes). Enter 0 to disable timeout metering.
Job timeout: Maximum time the job is allowed to run (for example, 30, 45s, or 15m). Units are seconds, if not specified. Enter 0 for unlimited time. Defaults to 0.
Time to live: How long to keep the job’s artifacts on disk after job completion. This also affects how long a job is listed in Job Inspector. Defaults to 4h.
Environment: If you’re using GitOps, optionally use this field to specify a single Git branch on which to enable this configuration. If empty, the config will be enabled everywhere.
Internal Fields
Cribl Stream uses a set of internal fields to assist in handling of data. These “meta” fields are not part of an event, but they are accessible, and Functions can use them to make processing decisions.
Fields for this Source:
__final__inputId__isBroken__source
Connected Destinations
Select Send to Routes to enable conditional routing, filtering, and cloning of this Source’s data via the Routing table.
Select QuickConnect to send this Source’s data to one or more Destinations via independent, direct connections.
How Cribl Stream Pulls Data
The Office 365 Services Source retrieves data using Cribl Stream scheduled Collection jobs, which include Discover and Collection phases. The Discover phase task returns the URL of the content to collect.
In the Source’s General Settings > Content Types > Interval column, you configure the polling schedule for each Content Type independently.
The job scheduler spreads the Collection tasks across all available Workers. The collected content is paginated, so the collection phase might include multiple calls to fetch data.
Viewing Scheduled Jobs
This Source executes Cribl Stream’s scheduled collection jobs. Once you’ve configured and saved the Source, you can view those jobs’ results by reopening the Source’s config modal and clicking its Job Inspector tab.
Each content type that you enabled gets its own separate scheduled job.
You can also view these jobs (among scheduled jobs for other Collectors and Sources) in the Monitoring > System > Job Inspector > Currently Scheduled tab.
Mitigating Stuck-Job Problems
Occasionally, a scheduled job fails, but continues running for hours or even days, until someone intervenes and cancels it. If left alone, such a “stuck”, “orphaned,” or “zombie” job will never complete. This can cause missing events in downstream receivers, along with HTTP timeout or similar errors in Cribl Stream’s logs.
To keep stuck jobs from running excessively long:
- First, try setting Advanced > Timeout (secs) to a duration shorter than the default of
300seconds (5 minutes). - If adjusting Timeout (secs) does not fix the problem, try the global setting Job Timeout - whose default of
0allows a job to run indefinitely - to a desired maximum duration. You’ll find Job Timeout among the task manifest and buffering limits.
Using these settings in tandem works like this:
- Timeout (secs) limits the time that Cribl Stream will wait for an HTTP request to complete.
- Then, if a job gets stuck and keeps running beyond that limit, Job Timeout can catch and terminate the job, because it monitors the overall time the job has been running.
Proxying Requests
If you need to proxy HTTP/S requests, see System Proxy Configuration.
See Also
The Community-contributed Microsoft Office Activity & Azure Logs Pack provides sample Pipelines to parse and streamline ingested Office 365 and EntraID/Azure AD data. You can import these and adapt them to your own needs.
Troubleshooting
The Source’s configuration modal has helpful tabs for troubleshooting:
Live Data: Try capturing live data to see real-time events as they are ingested. On the Live Data tab, click Start Capture to begin viewing real-time data.
Logs: Review and search the logs that provide detailed information about the ingestion process, including any errors or warnings that may have occurred.
You can also view the Monitoring page that provides a comprehensive overview of data volume and rate, helping you identify ingestion issues. Analyze the graphs showing events and bytes in/out over time.
Common Issues
Dropping request because token invalid",“authToken”: “Bas…Njc=”
The specified token is invalid. Note that the above message is logged only at the debug level.